The Color Tool Every Black and White Photographer Should Be Using
It sounds like a contradiction. It is actually closer to how black and white photography has always worked.
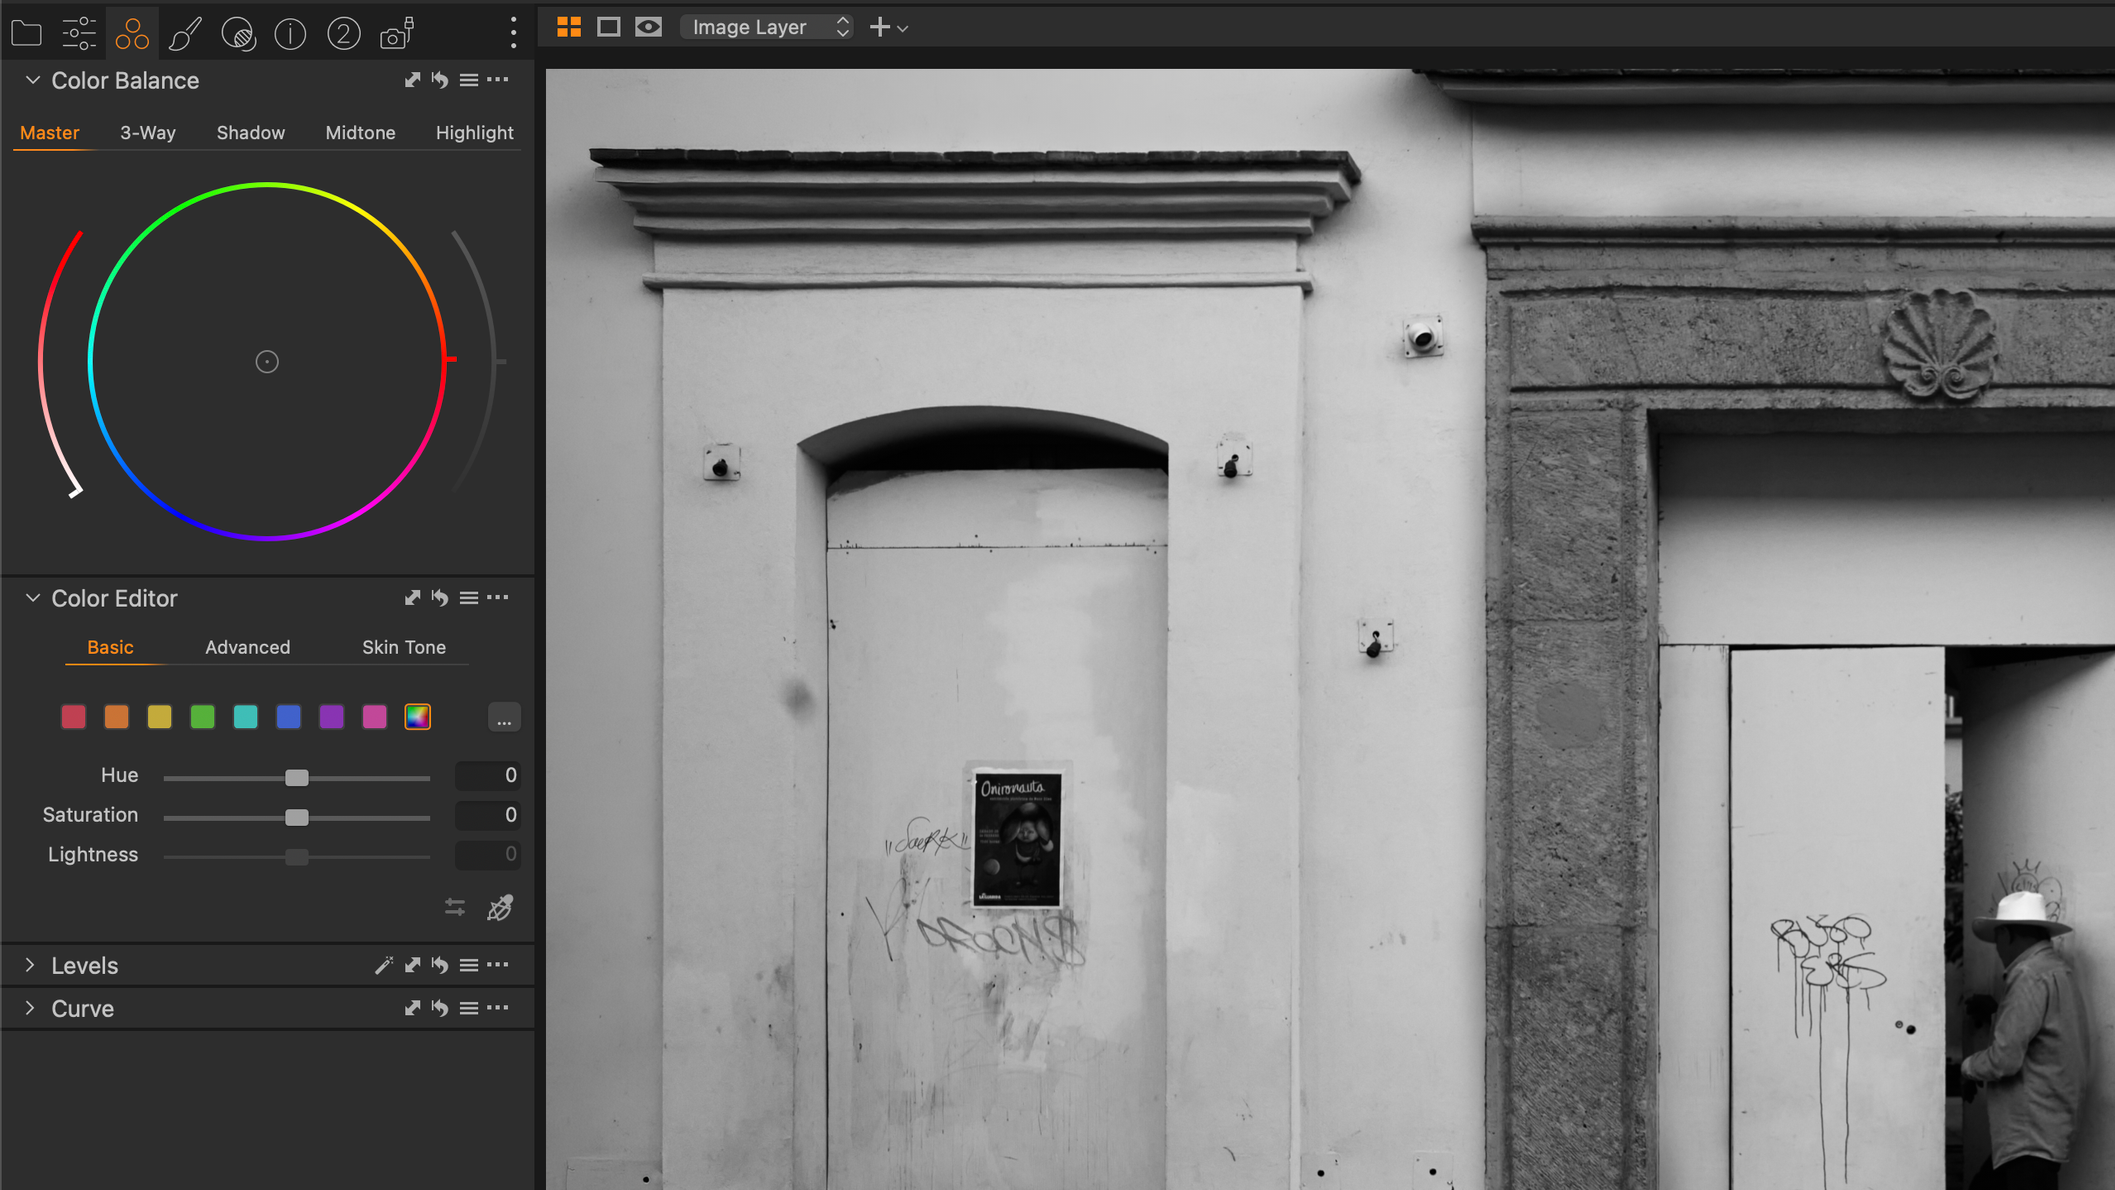
Here is a tool most black and white photographers walk right past. The color editor. HSL in Lightroom, the Color Editor panel in Capture One. It sounds like the wrong tool entirely for monochrome work, a leftover from color editing that has no business in a workflow that ends in grayscale. It is actually one of the more precise and powerful things available for expanding tonal range in a black and white image, and understanding why requires understanding something about what actually happens when a color photograph becomes a monochrome one.
Why this is not a contradiction
When you shoot in color, even with a monochrome result fully in mind from the start, the RAW file still contains complete color information. That information does not disappear once you decide to convert to black and white. It becomes raw material a color editing tool can use to control exactly how each specific hue translates into a specific gray value in the final image.
This is closer to traditional darkroom practice than it might first appear. Black and white film photographers have always used colored filters over the lens specifically to control how color translated to tone before it ever reached the film, a red filter to darken a blue sky dramatically, a yellow filter to lighten skin and reduce the harshness of blemishes and freckles. A color editor in post processing is doing the same fundamental job. It just does it with far more targeted, granular control than a single physical filter mounted over a lens ever could.
How it actually works in each tool
In Lightroom, the relevant panel is the black and white mix, sometimes still shown as HSL depending on your version, which lets you independently push the luminance of red, orange, yellow, green, aqua, blue, purple, and magenta up or down, even though the resulting image shows no color at all. Sliding the blue channel down darkens sky without touching foliage. Sliding yellow up can lighten skin tones relative to a similarly toned background.
In Capture One, the Color Editor panel offers something similar with even finer precision. You can select a specific color range directly from a point on the image itself, using the eyedropper style picker, and adjust that exact hue's brightness independently from everything else in the frame, rather than working from broad, fixed color bands.
Why this genuinely expands tonal range, not just adds style
This is worth being precise about, since it is a real technical claim and not just an artistic preference. A naive, flat black and white conversion often produces a narrower effective tonal range than the original scene actually contained. Two colors with genuinely different hues can carry nearly identical brightness values, which means a basic conversion collapses them into nearly the same shade of gray, quietly discarding separation and detail that was actually present in the scene, a red brick wall and a similarly toned wooden door disappearing into one another, for example, even though your eye read them as completely distinct when you made the photograph.
Using the color editor to deliberately separate those hues by luminance is not simply a stylistic choice layered on top of the image. It is literally recovering tonal range and detail that the original conversion process would have discarded, restoring separation the scene genuinely contained but that a basic grayscale conversion failed to preserve.
A practical example worth trying
Take an image with a blue sky and green foliage sitting at a similar brightness. In a flat conversion, they will likely read as nearly the same shade of gray, flattening a natural point of visual separation in the frame. Open the color editor and independently pull the blue luminance down while leaving green alone, and watch the sky separate from the foliage with real, controlled contrast, the same effect a red filter would have produced on film decades ago, just with the precision to apply it after the fact and adjust exactly how much separation you want.
The same principle works on skin against a similarly toned background, on a specific colored object you want isolated from its surroundings, on any two elements in a scene that share a brightness value but not a hue. The color editor is not adding anything artificial to your black and white image. It is using information that was always there to recover the separation your scene actually had.