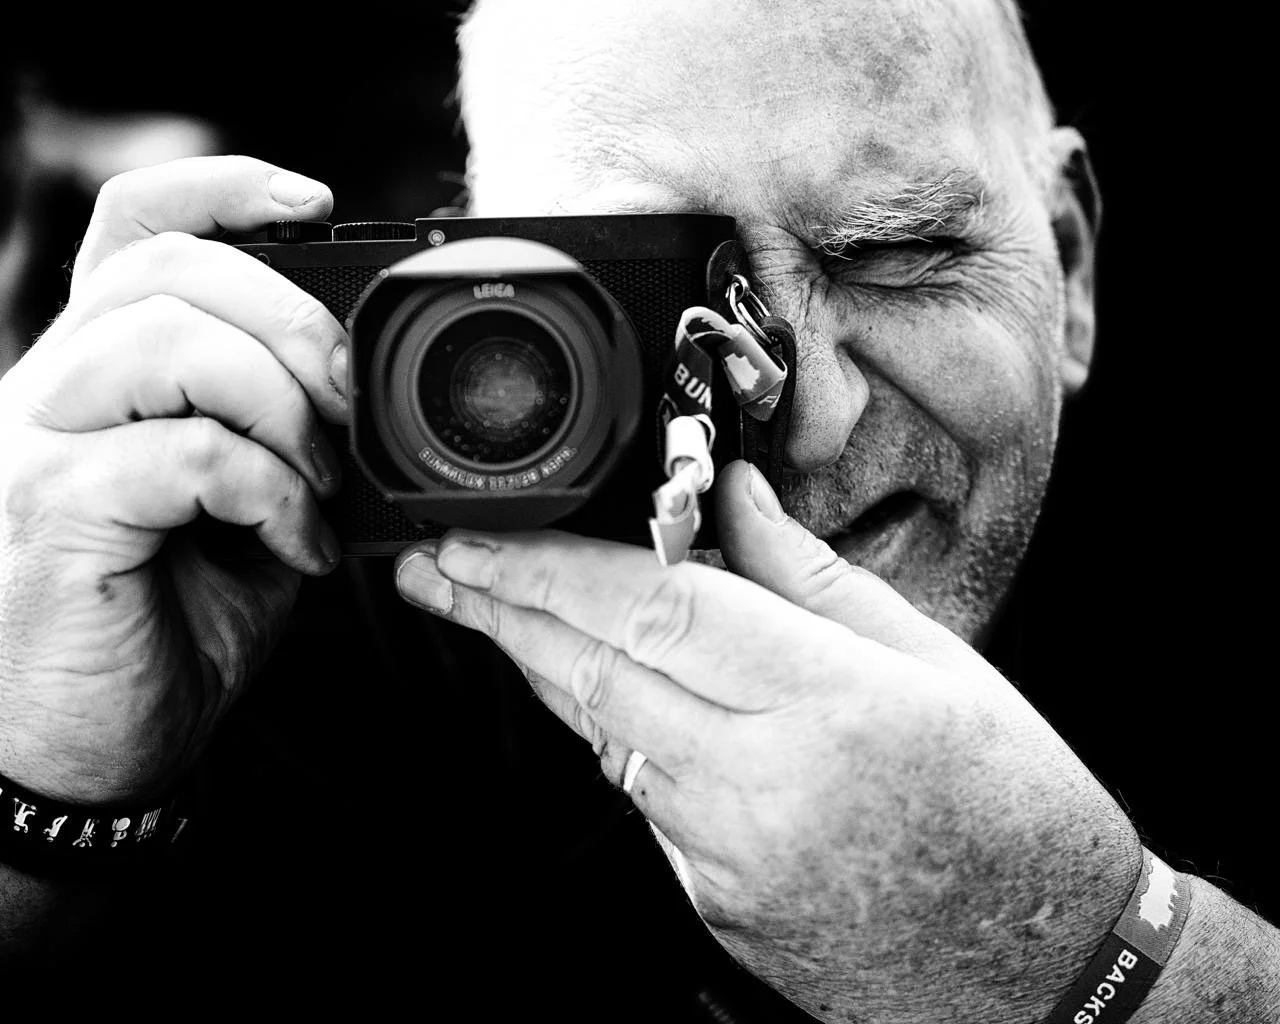
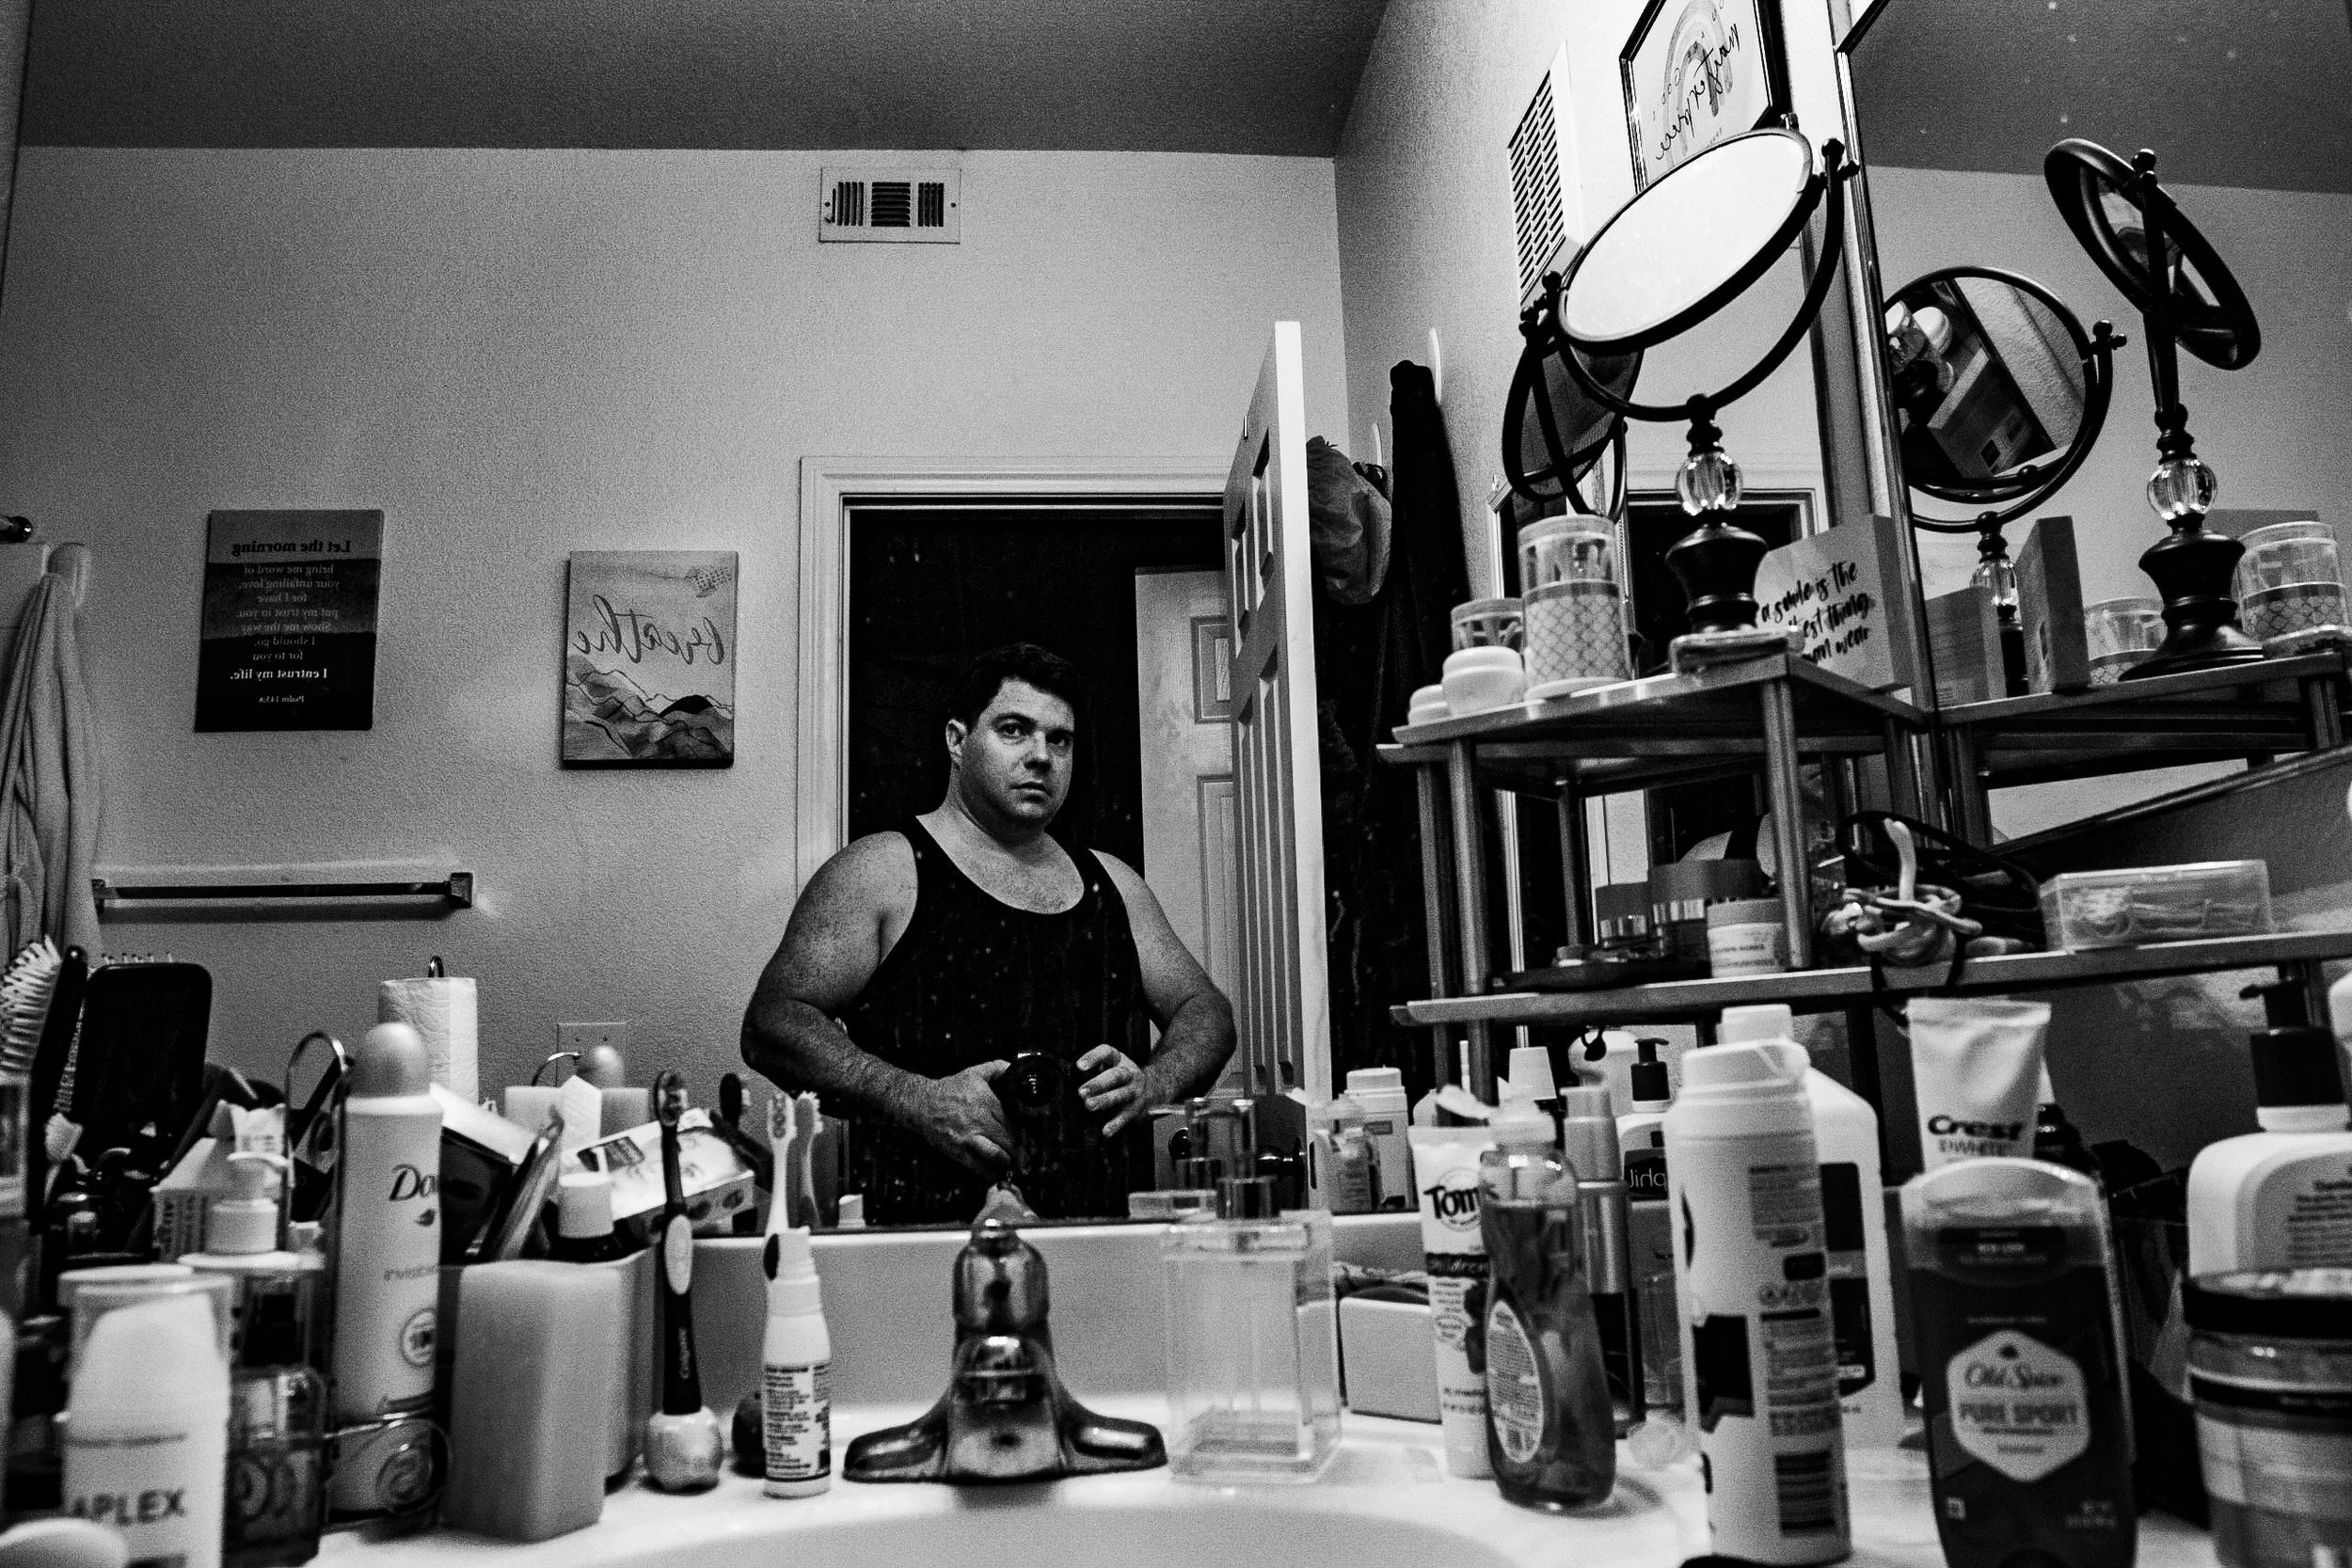
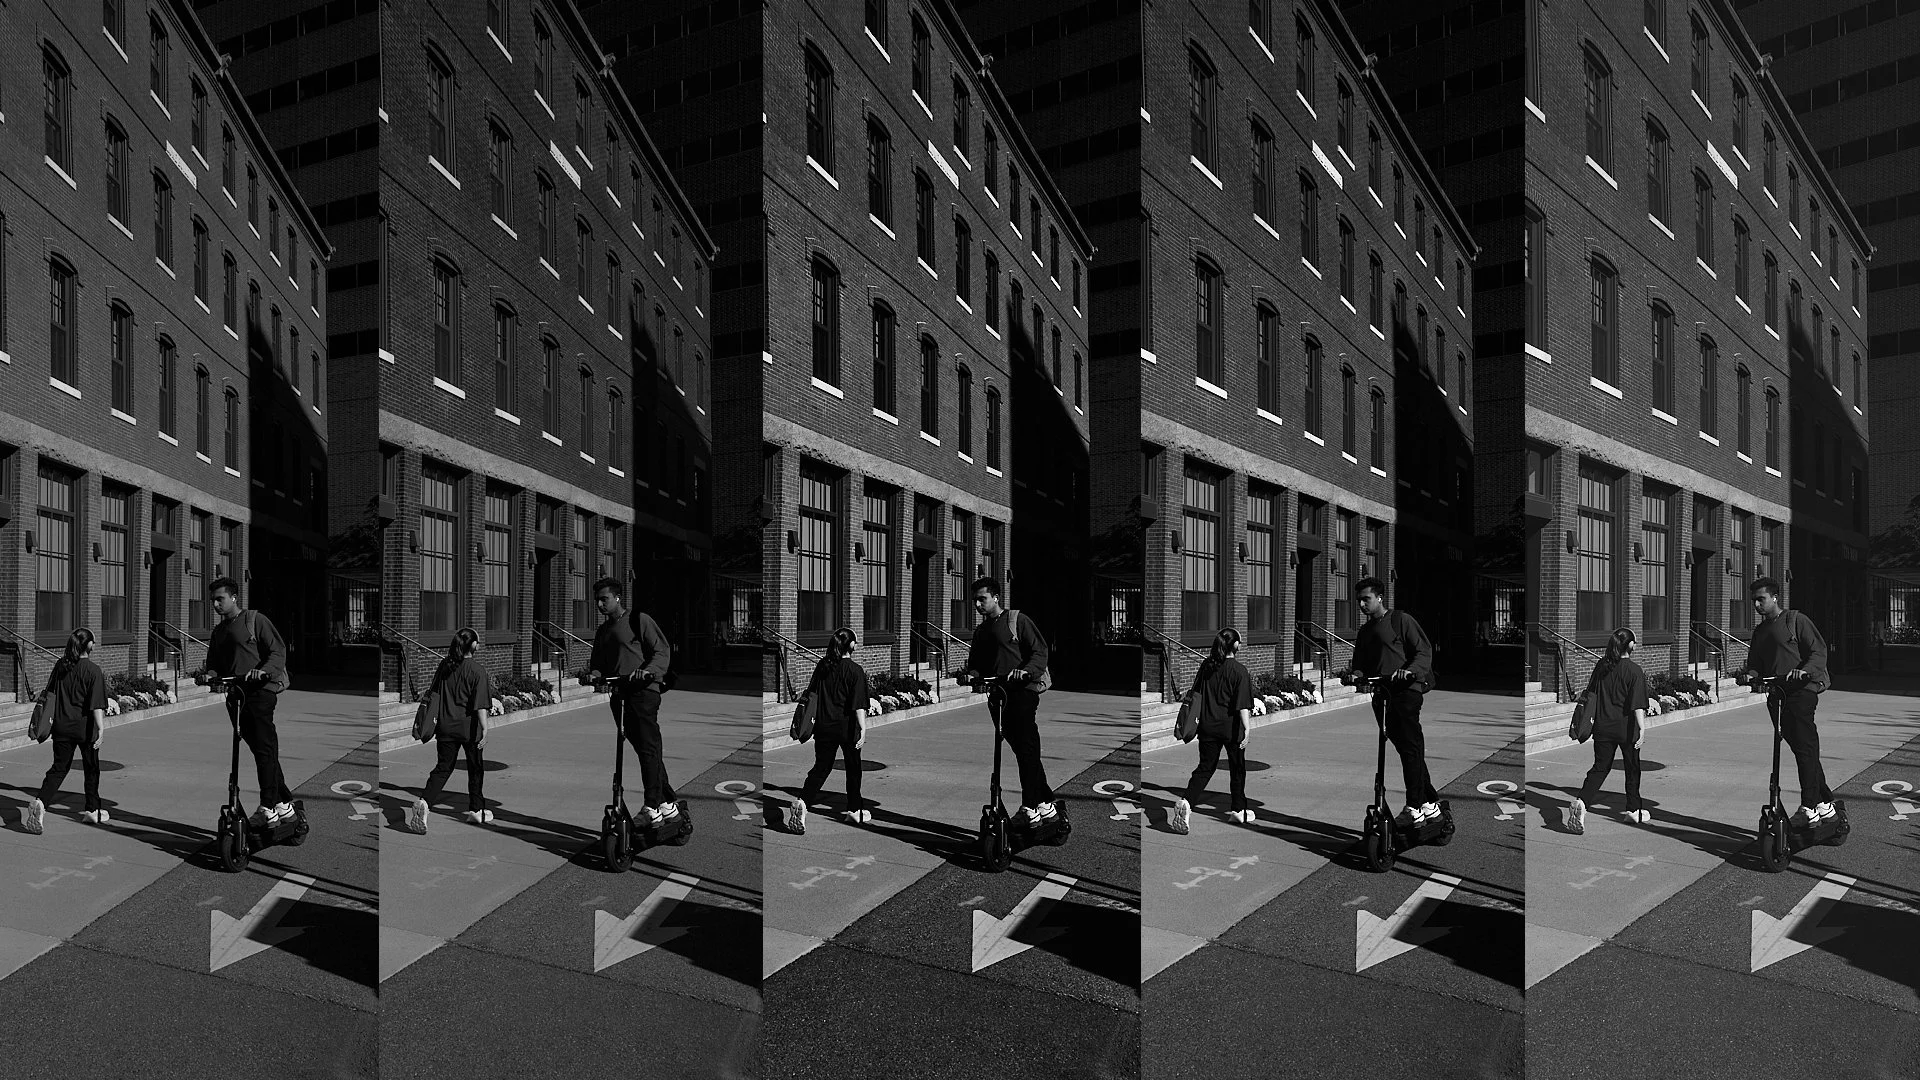
5 Ways to Edit Your Monochrome Images
Turning a photograph into black and white isn’t just about removing color it’s about deciding what really matters once color is gone. Every conversion method carries its own fingerprint, shaping how light, texture, and emotion reveal themselves.
In Lightroom or Capture One, there’s more than one path to monochrome. Each offers a different way of translating color into tone a different way of interpreting reality. When you understand these methods, you begin to take control of that translation. You can decide whether a red wall glows or darkens, whether skin feels luminous or shadowed, whether the scene feels quiet or charged.
Learning how to convert thoughtfully isn’t just a technical step; it’s an act of seeing. It turns editing from a routine into a creative decision one that defines the mood, the message, and the meaning of your image.
1. The Quick Way — Simple Desaturation
Lightroom & Capture One:
Go to the Basic panel → Saturation slider → drag to –100.
Result: Fast and easy, but lacks tonal separation useful only for test previews or minimalist looks.
2. The Controlled Way — Black & White Mix / Channel Control
Lightroom:
Click Black & White (B&W) mode in the HSL panel.
Use the B&W Mix sliders (Red, Orange, Yellow, Green, Aqua, Blue, Purple, Magenta) to brighten or darken tones based on their original colors.
Capture One:
In the Black & White tool, check Enable Black & White.
Adjust the color sensitivity sliders to control how each color converts into gray.
Result: Maximum creative control. This is the professional’s go-to method for expressive tonal separation.
3. The Filmic Way — Using Film Simulations or Filters
Lightroom:
Apply B&W film presets (e.g., “B&W 01,” “B&W Contrast High”) or import third-party.
Optionally, simulate colored filters in the B&W Mix panel (e.g., lower Blue to mimic a red filter darkening skies).
Capture One:
Use Styles and Presets → B&W Film Styles or your own custom curve profiles.
Adjust color sensitivity to emulate film filters.
Result: More character and emotion perfect for nostalgic or cinematic monochrome aesthetics.
4. The Artistic Way — Luminance & Curve-Based Conversion
Lightroom:
Stay in Color mode, and adjust Luminance sliders before converting to B&W.
After conversion, use the Tone Curve for refined control of shadows and highlights.
Capture One:
Adjust Luma Curve (found in the Curves tool) to shape contrast without affecting color.
Combine with the Black & White tool for the cleanest tonal gradation.
Result: Deep tonal range, smoother transitions ideal for fine-art or exhibition-quality black and white.
5. The Philosophical Way — Start With Intent
Lightroom & Capture One:
Shoot RAW for maximum dynamic range.
Enable Monochrome preview on your camera (if available) so you visualize in B&W but retain full color data in the file.
Compose for shape, texture, and light not color.
Use Clarity, Dehaze, or Structure (in Capture One) sparingly to enhance definition without crushing tones.
Result: Thoughtful conversions that feel intentional rather than “filtered.”