Chiaroscuro: The Art of Sculpting with Shadows
From Caravaggio to cinema, the greatest image-makers have always known that darkness is not the absence of light, it's the point.
The word comes from the Italian chiaro (bright) and scuro (dark). It’s a technique that has been used for centuries, moving from the oil paintings of the Renaissance to the moody frames of 1940s film noir, and finally into the digital sensor.
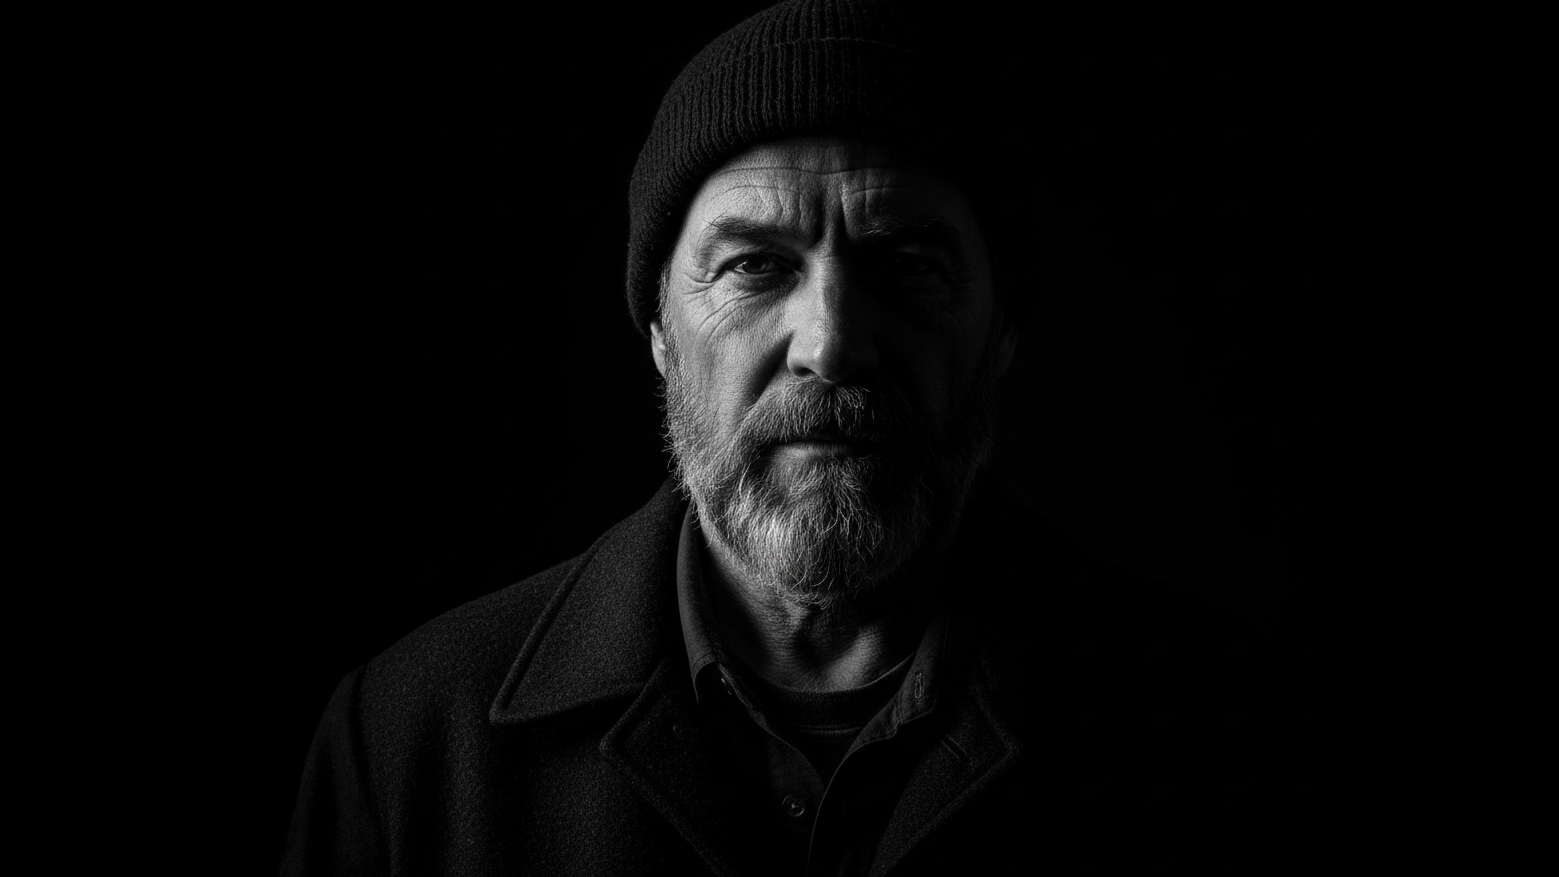
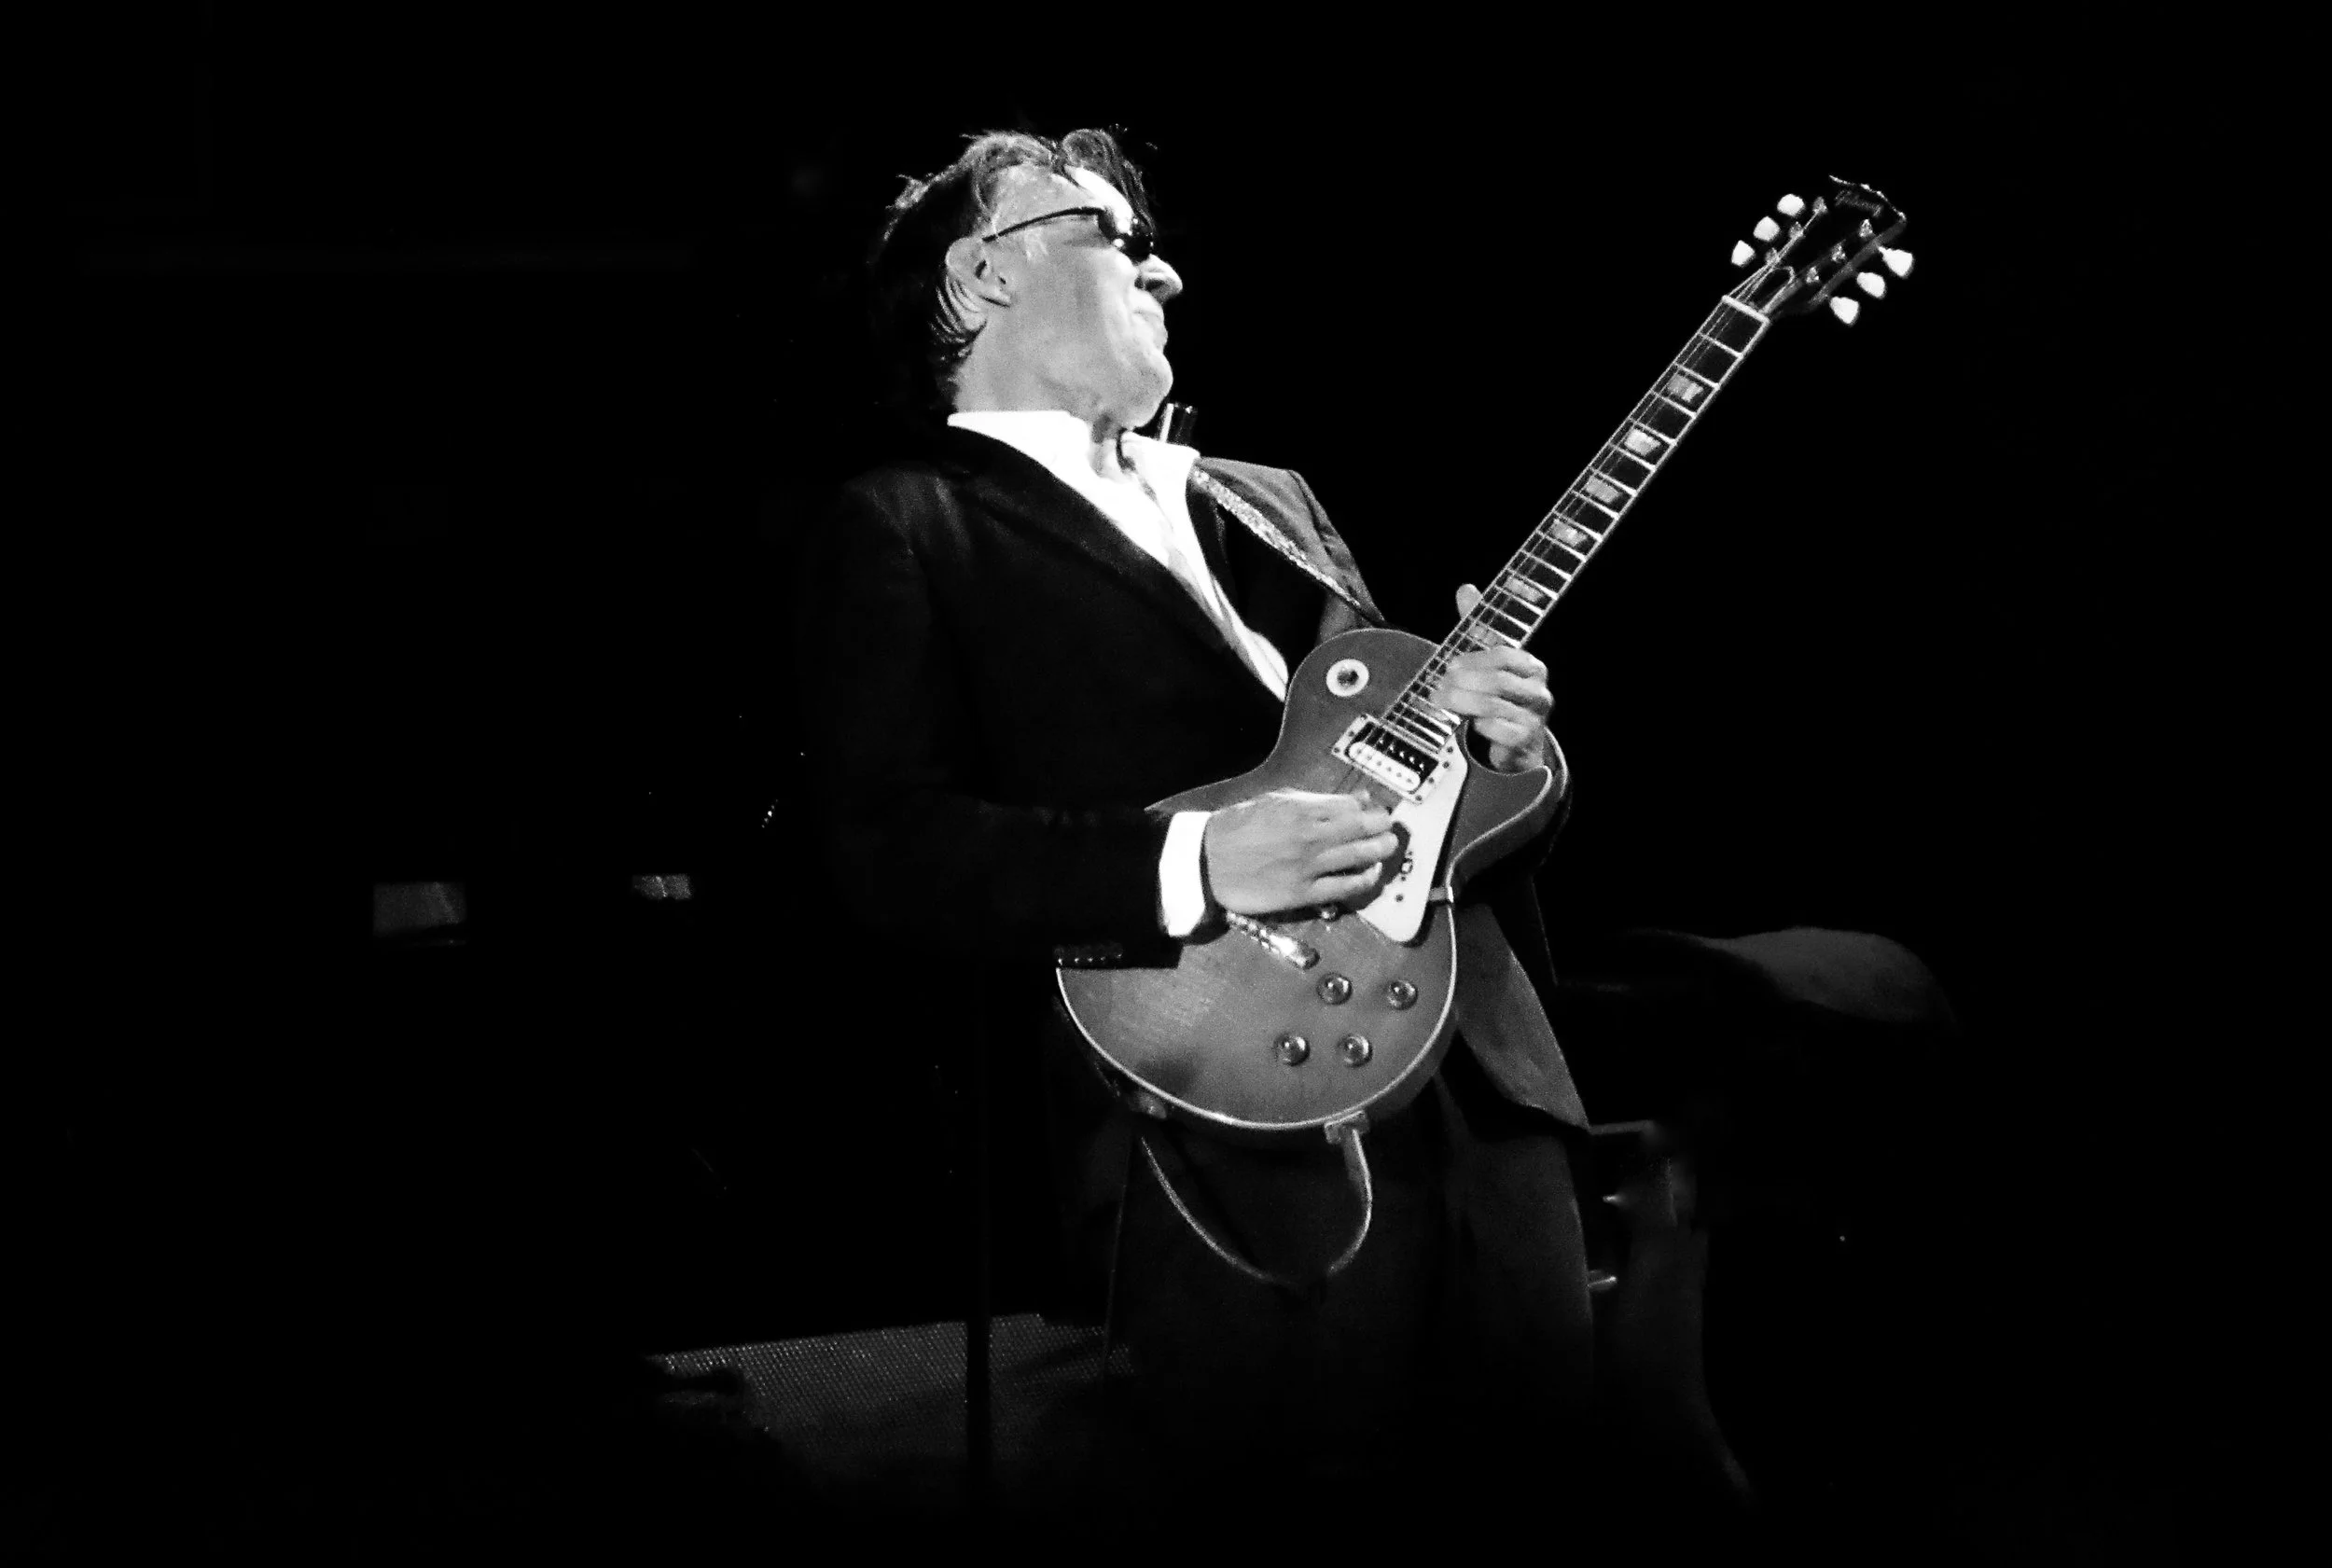
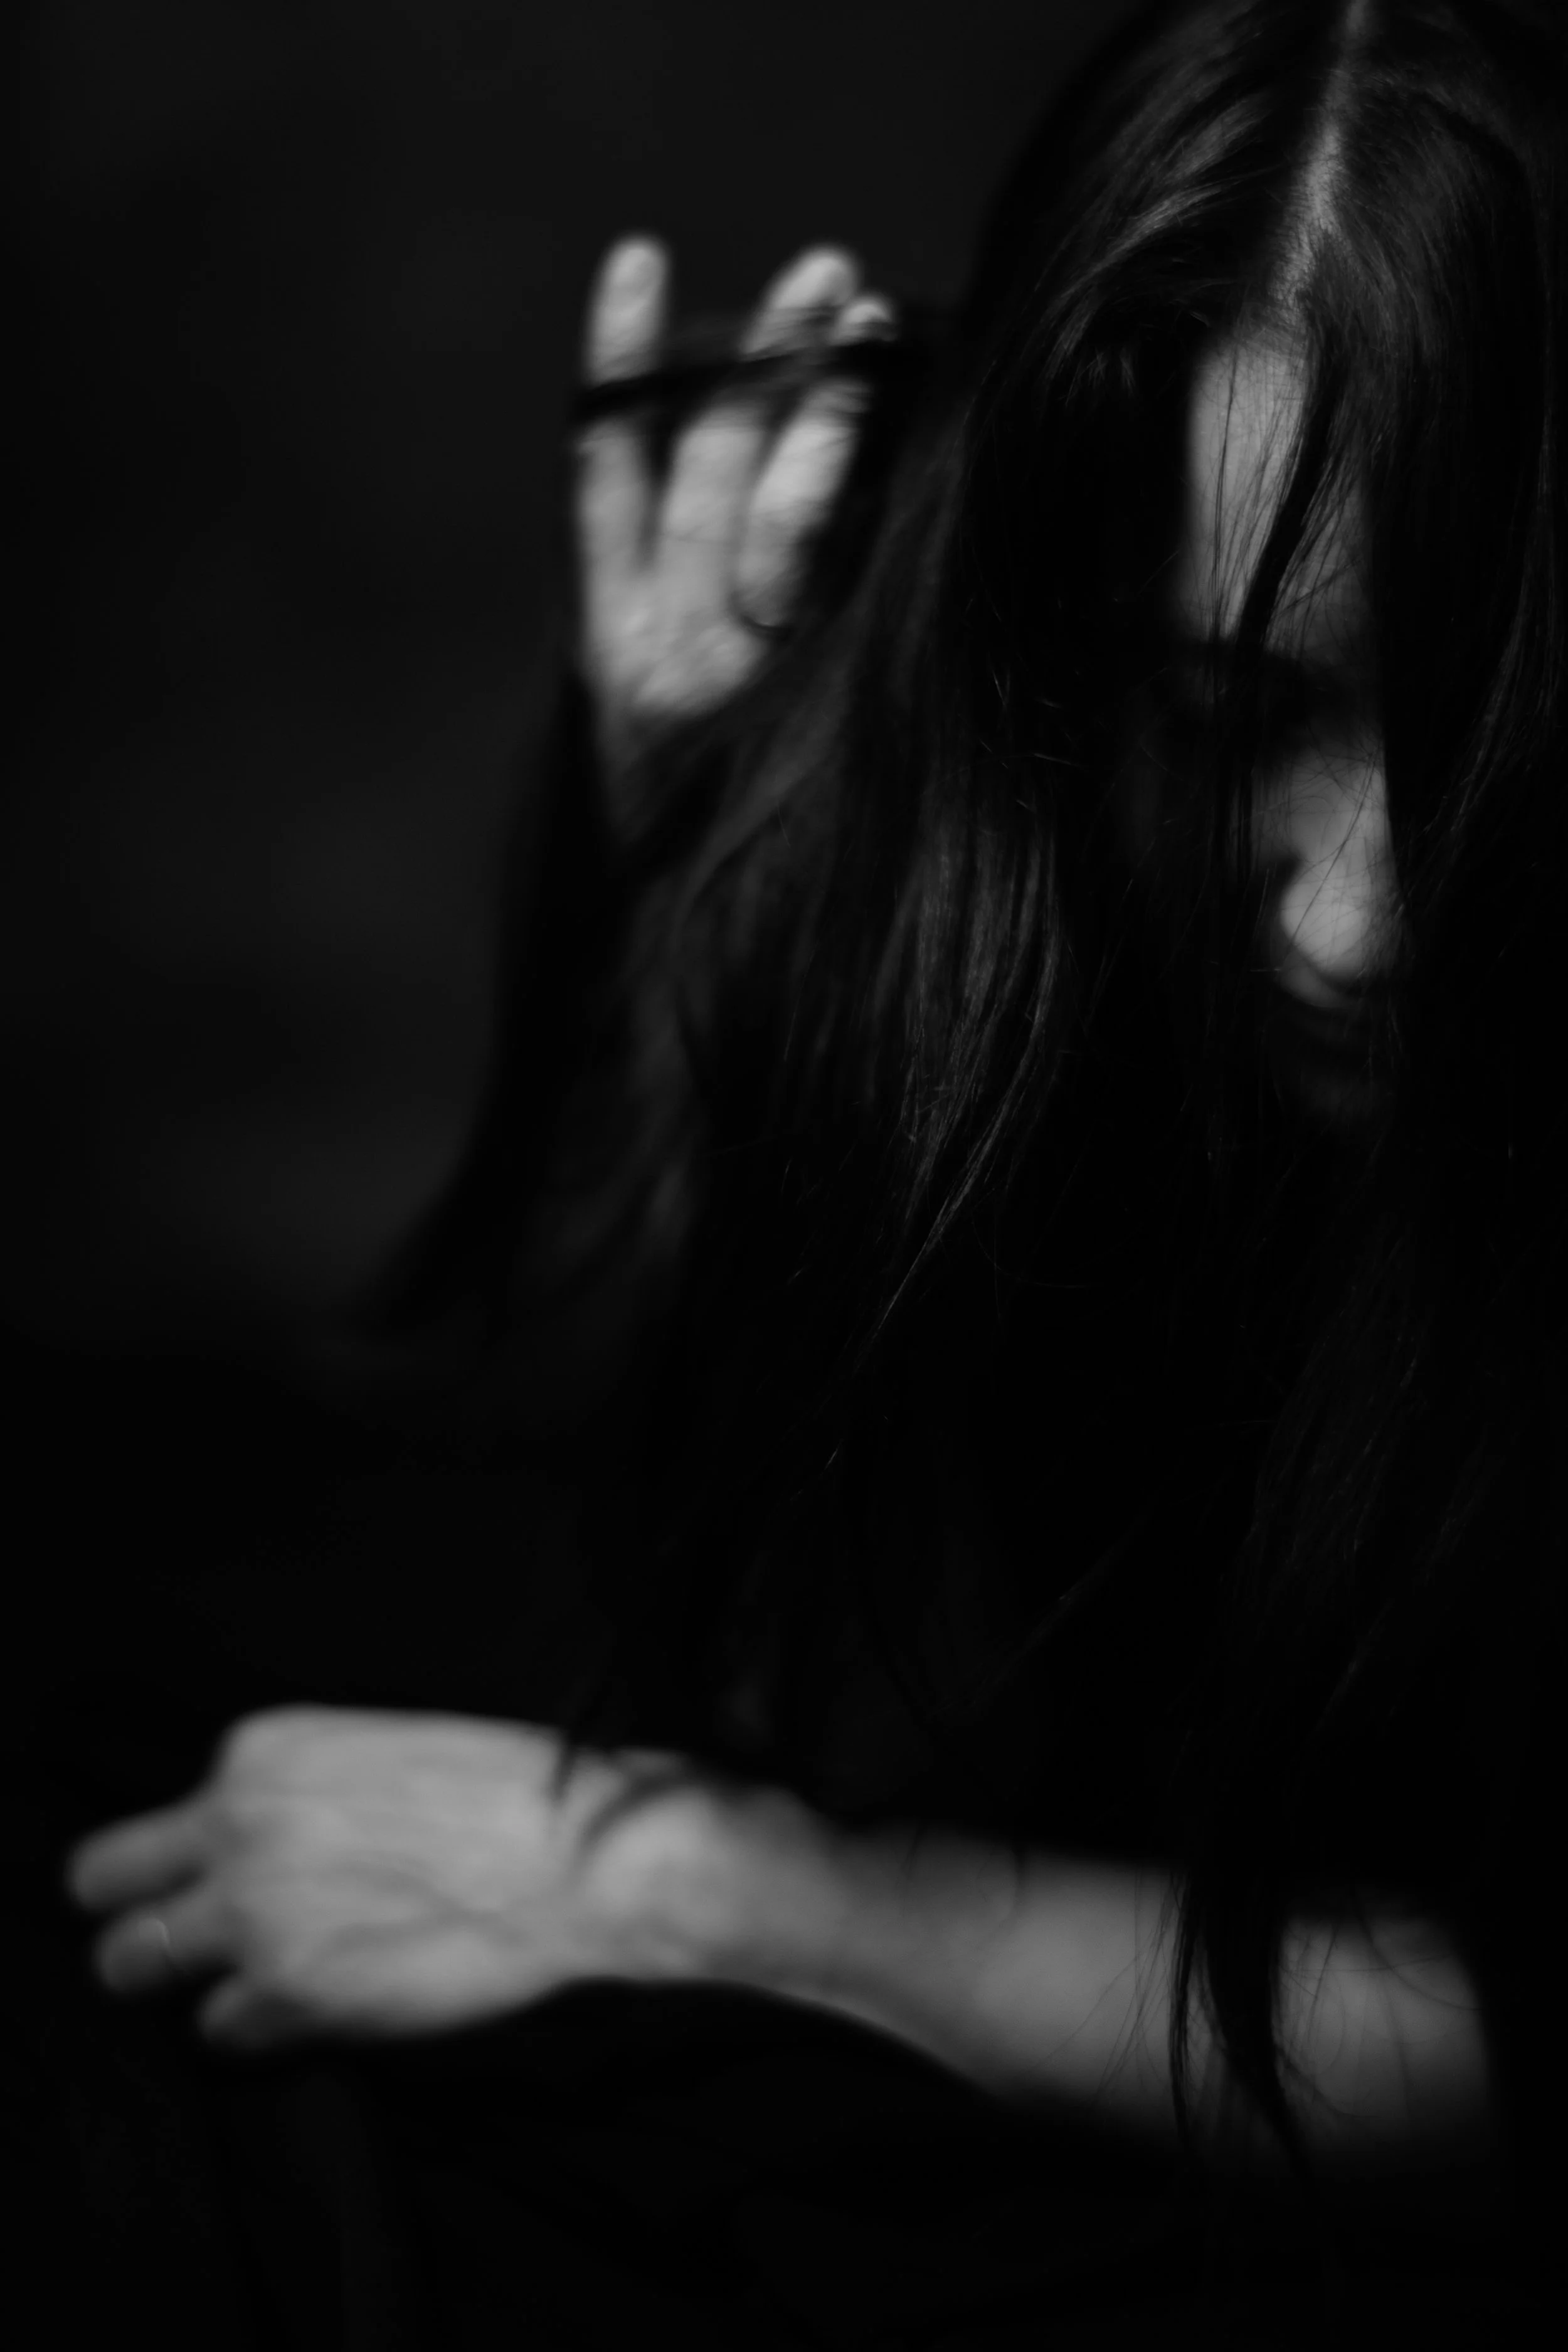
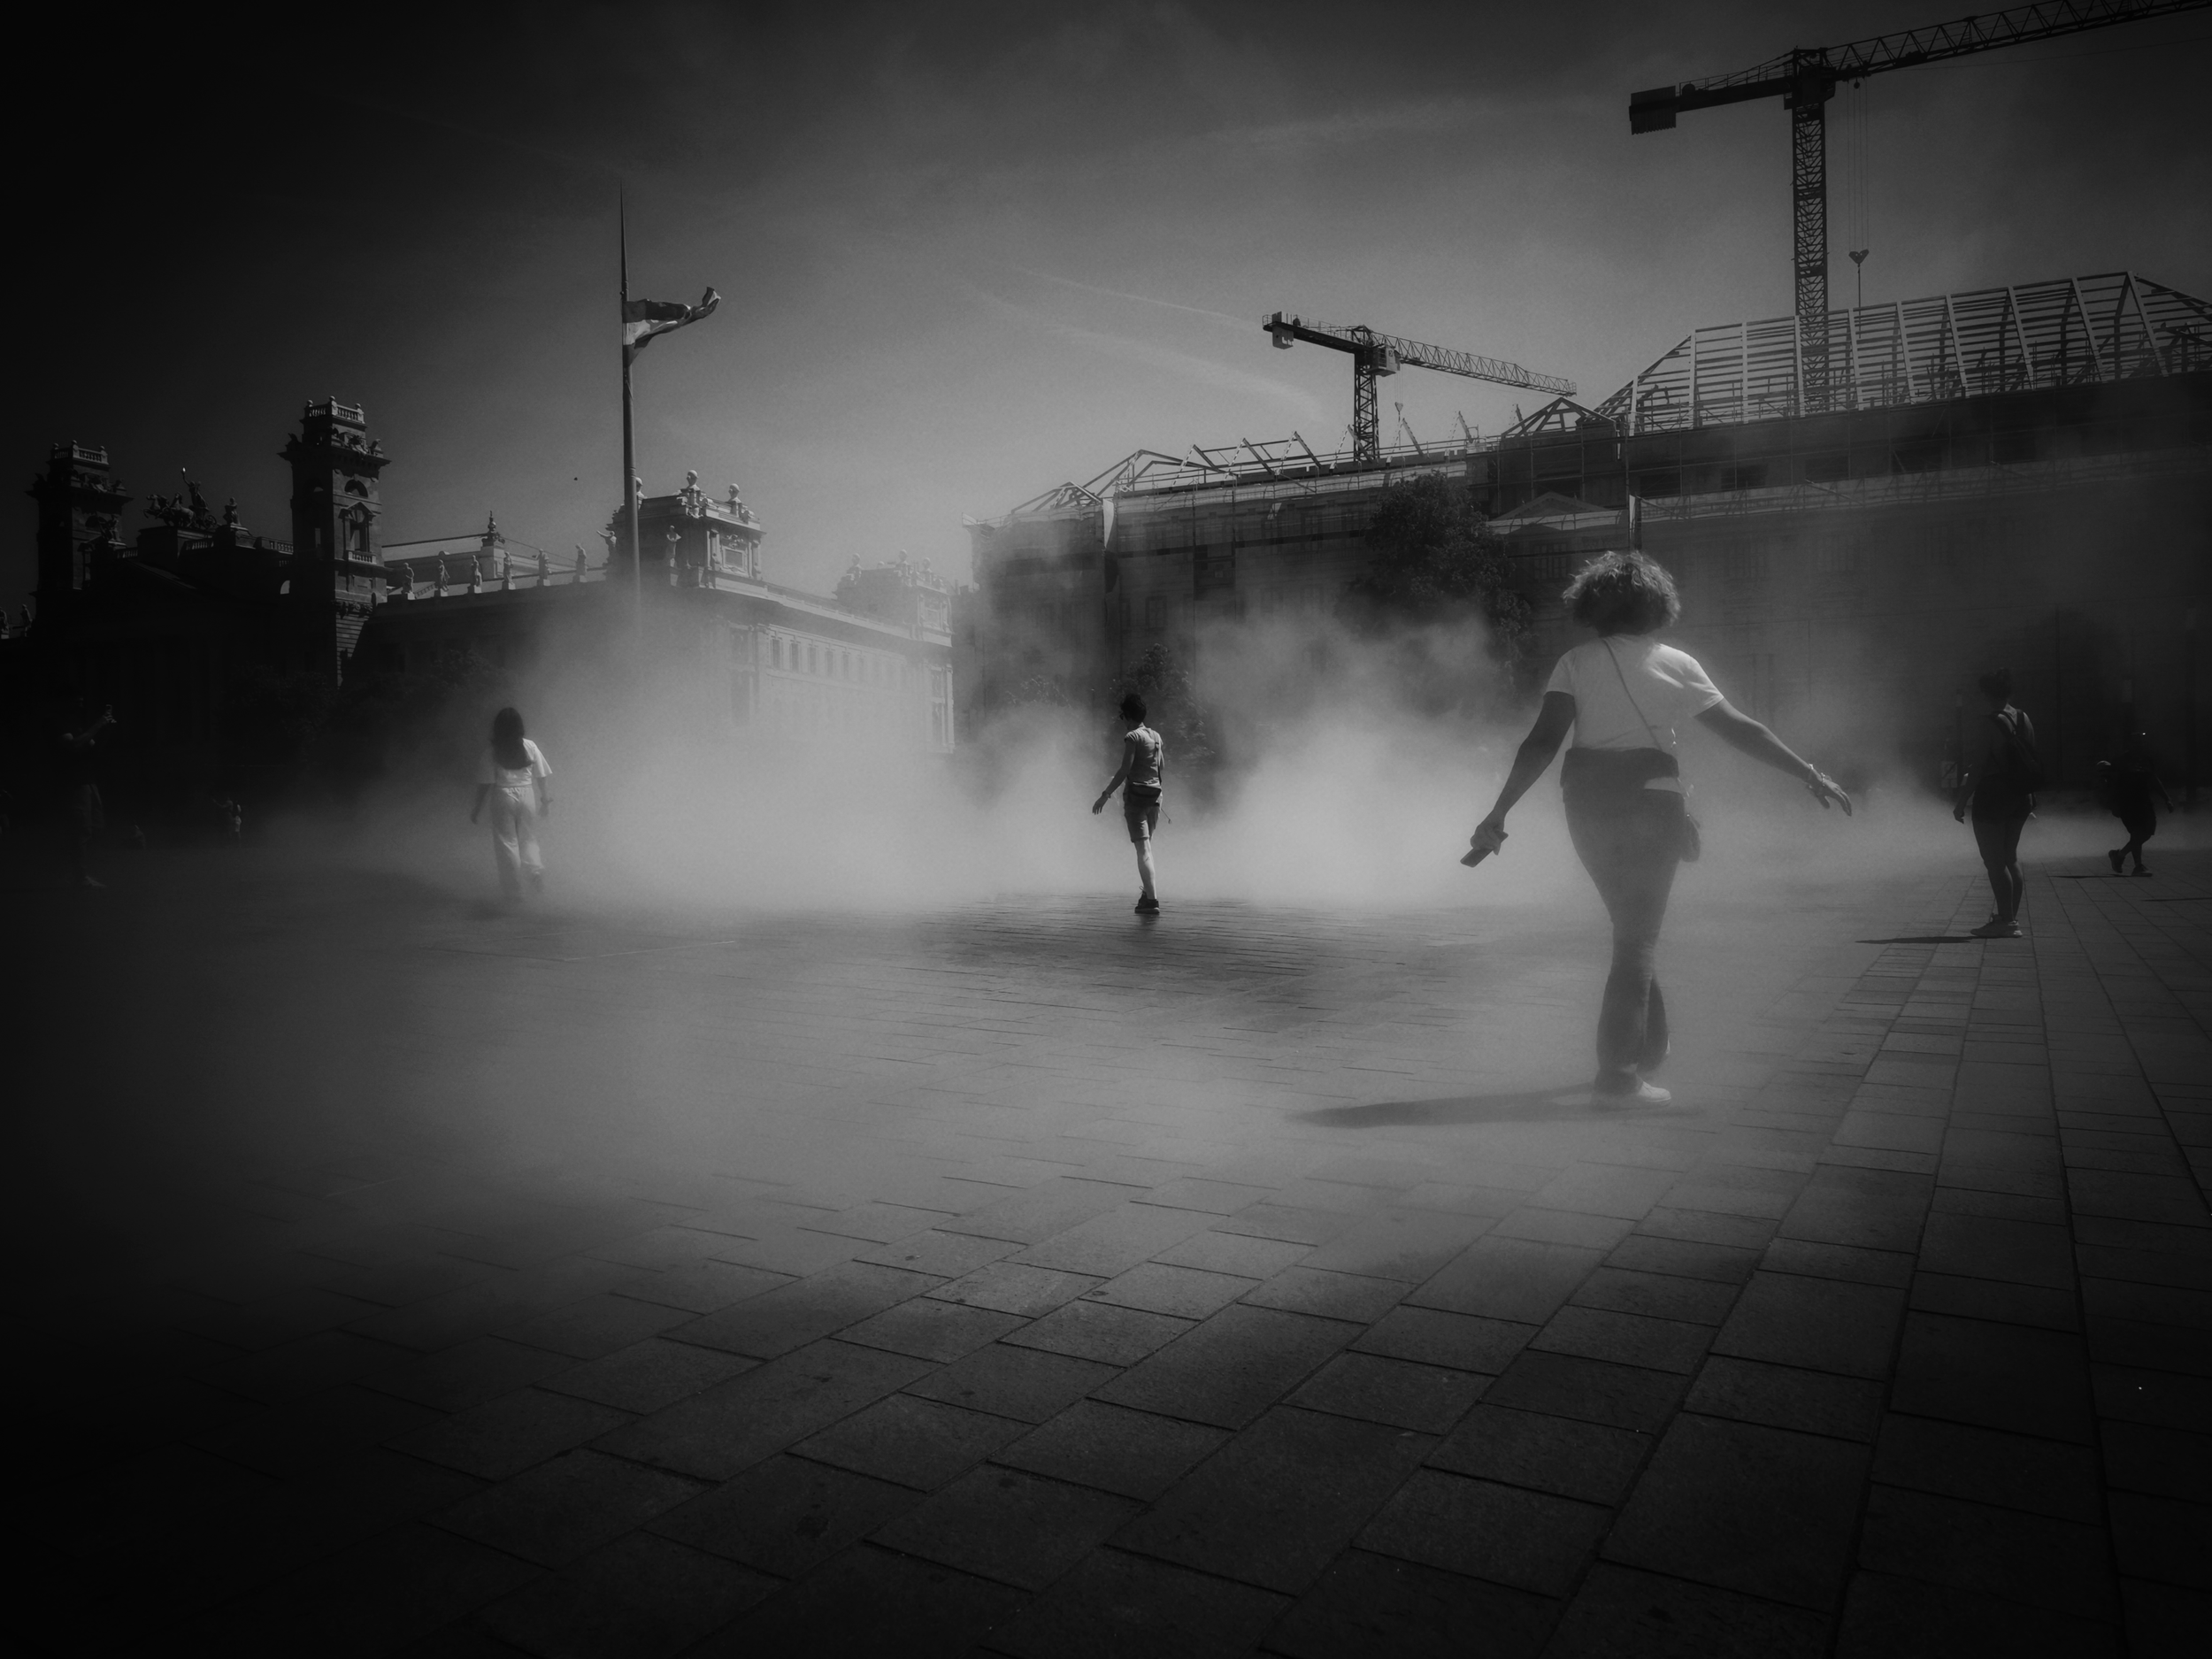
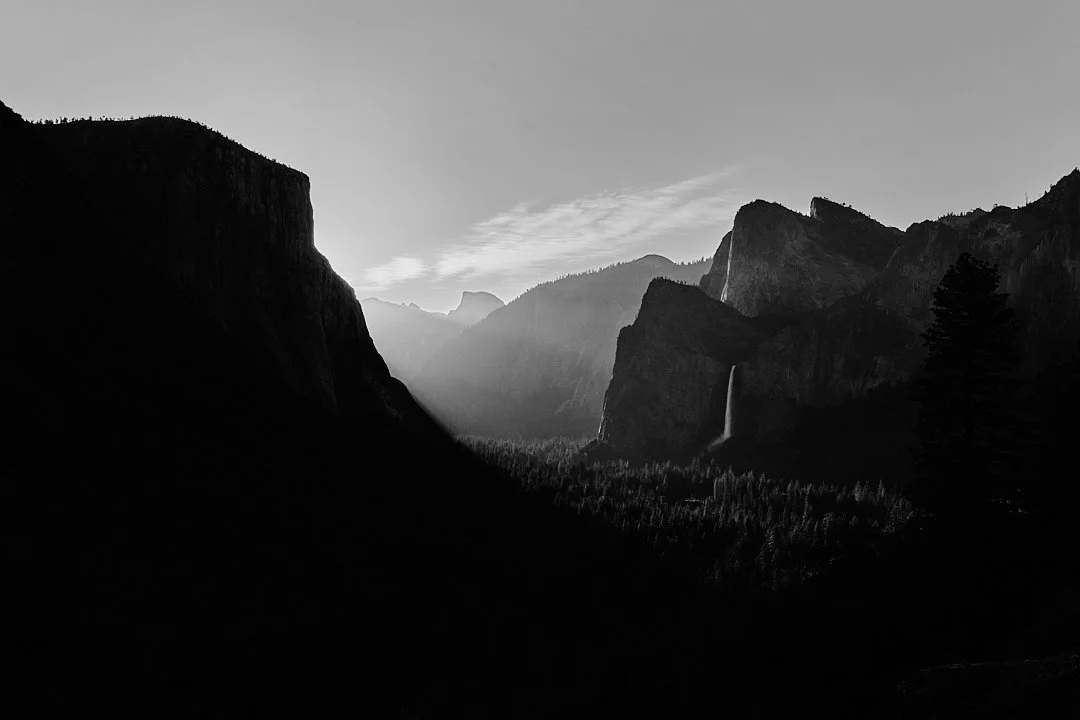
At its core, Chiaroscuro is about extreme contrast. It isn't just about having a dark background; it’s about using a single, directional light source to "carve" your subject out of the shadows.
Why it Works
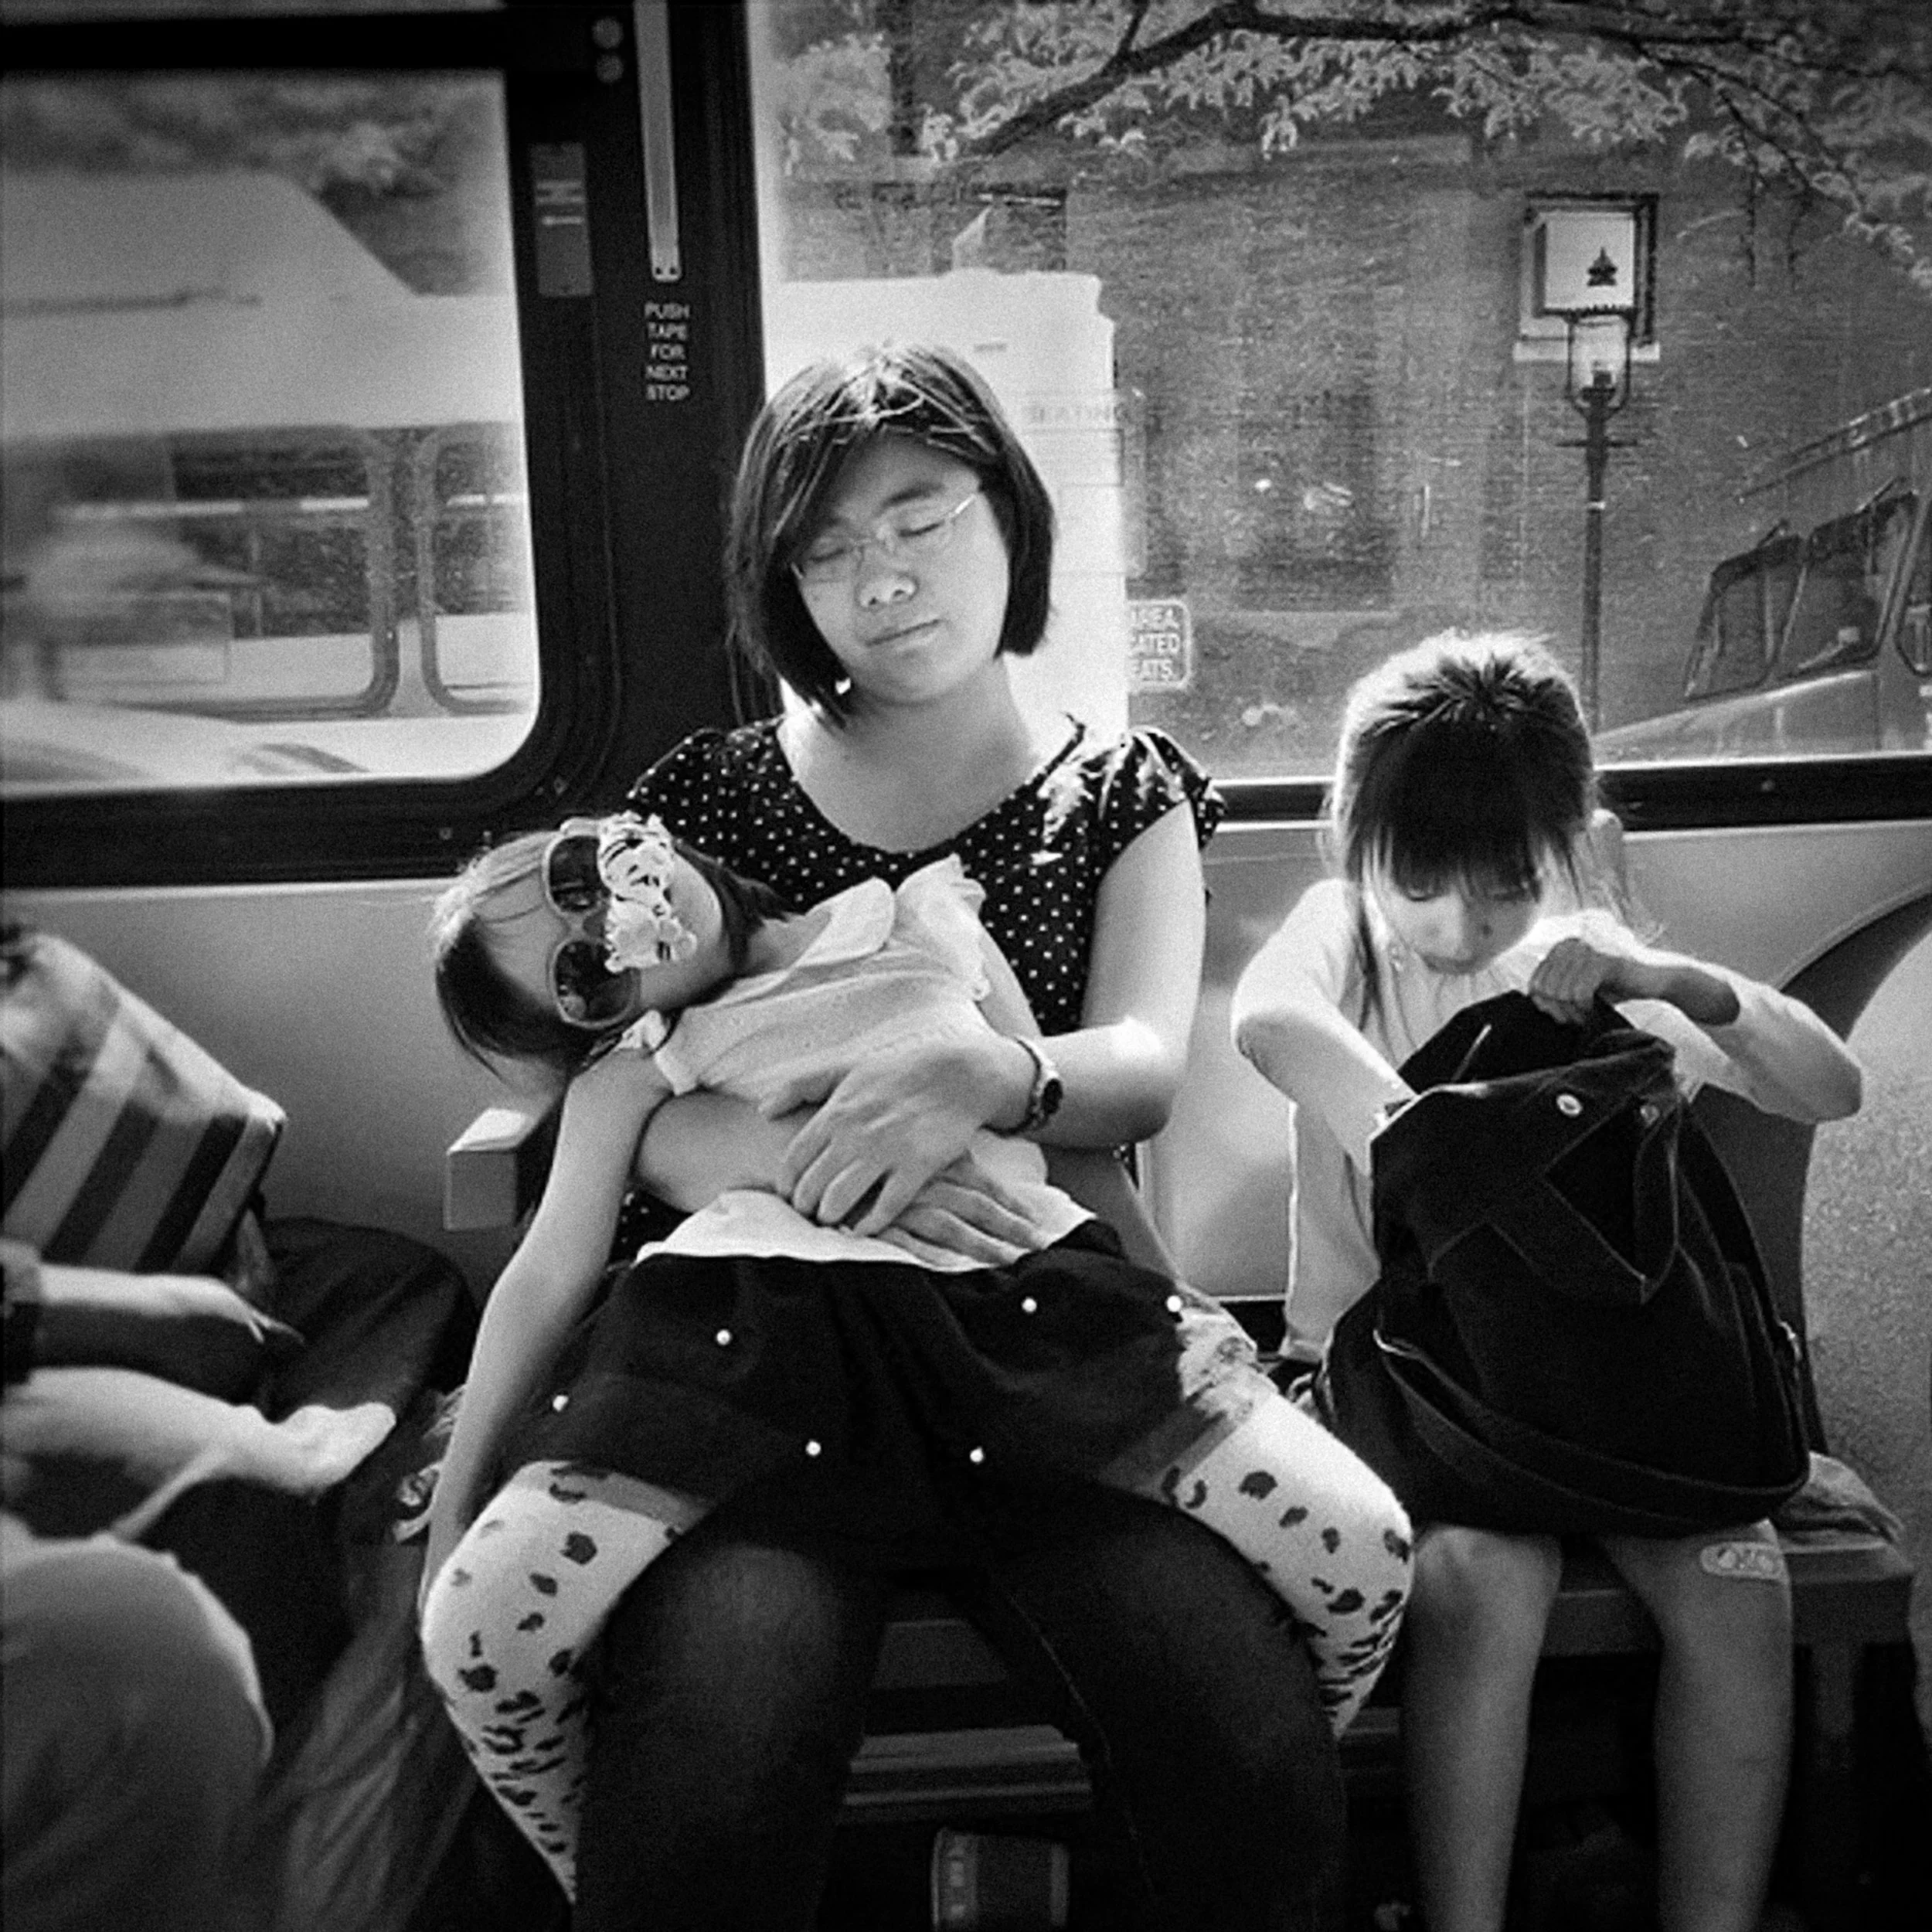
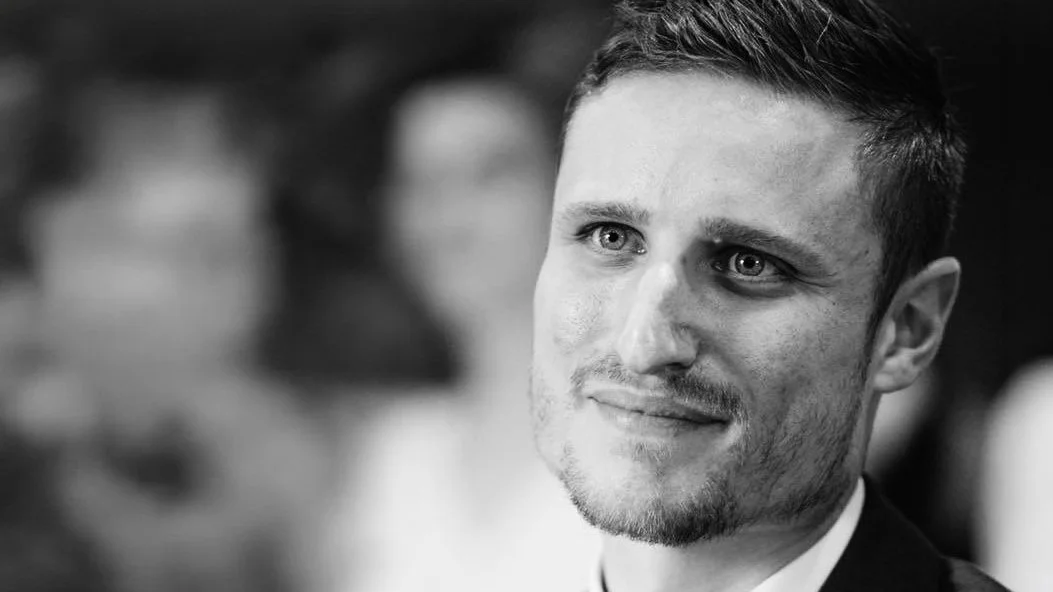
In a flat, evenly lit photo, the eye wanders. In a Chiaroscuro image, the eye is forced to go exactly where the photographer wants. By hiding the "unimportant" details in deep shadow, you create a sense of mystery and force the viewer to complete the story in their own mind.
How to Shoot It
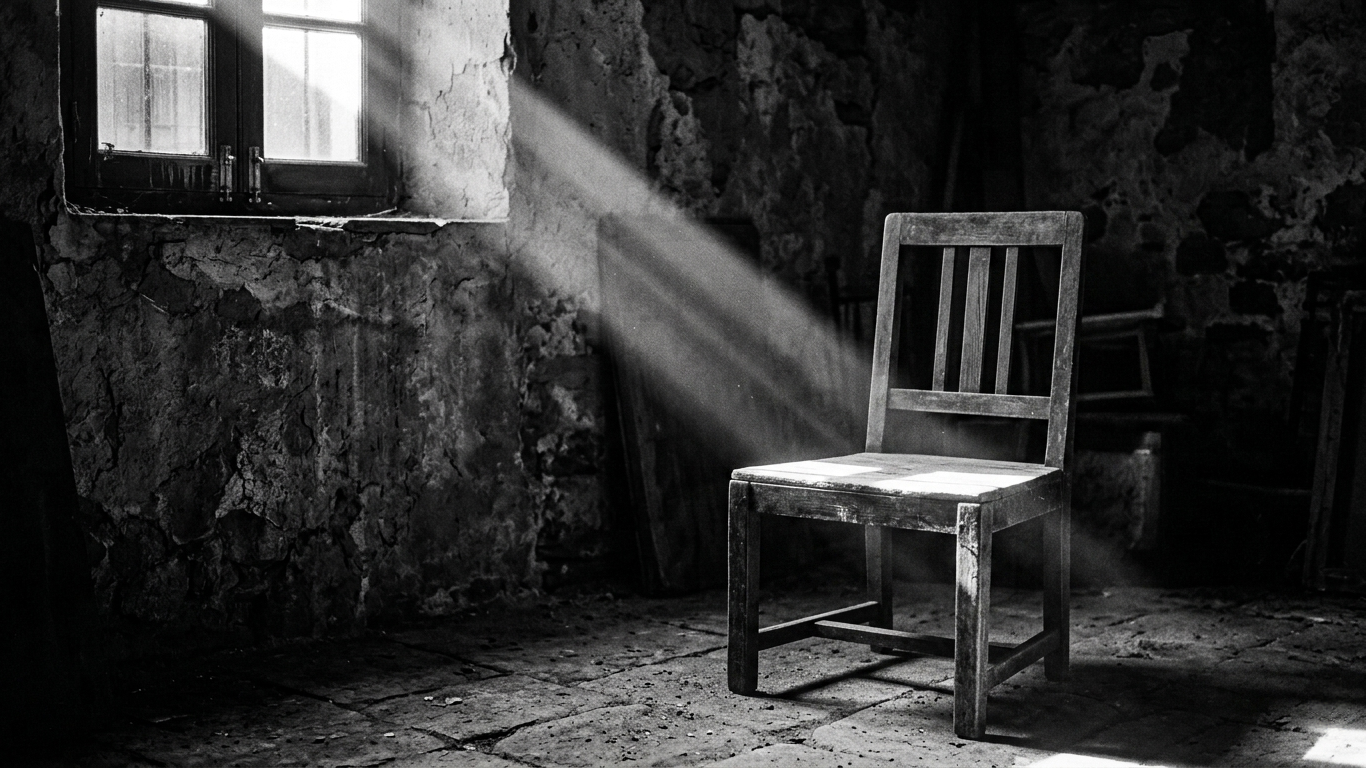
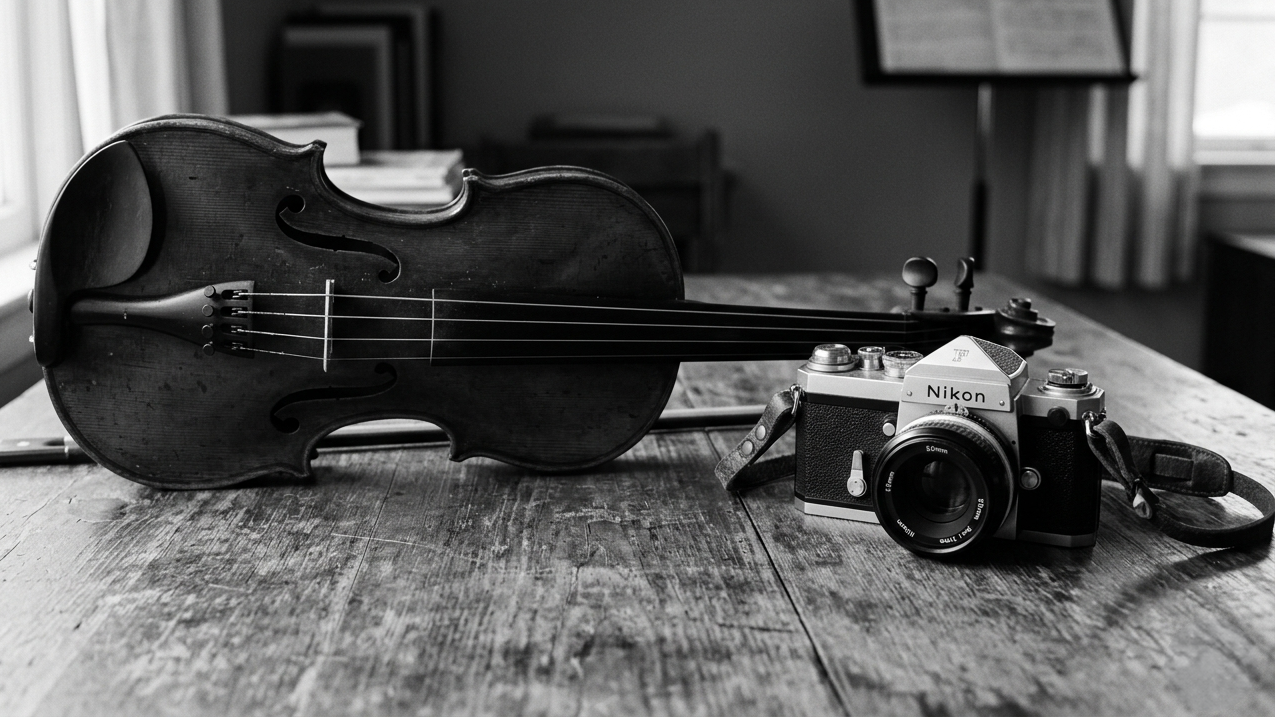
1. Find the "Single Source" The enemy of Chiaroscuro is "ambient" light. To do this properly, you need a single, dominant light source.
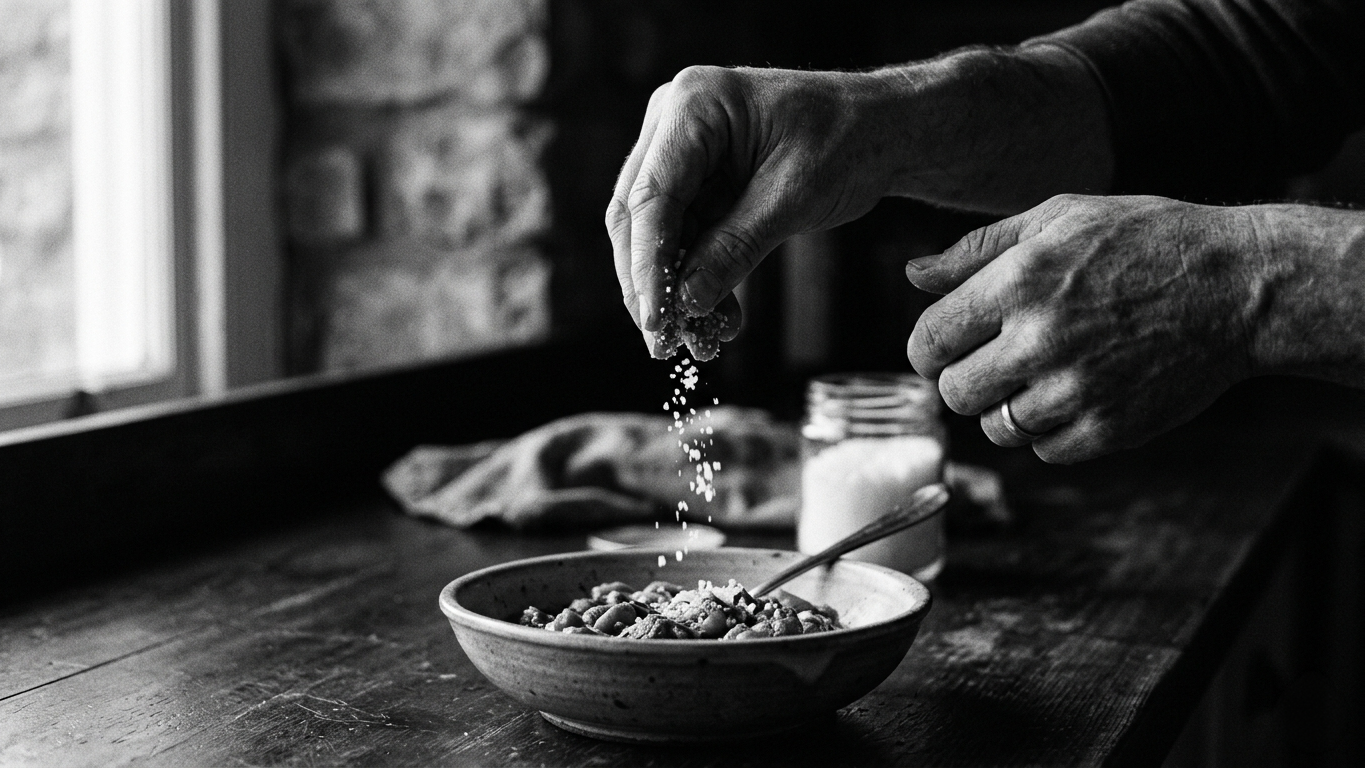
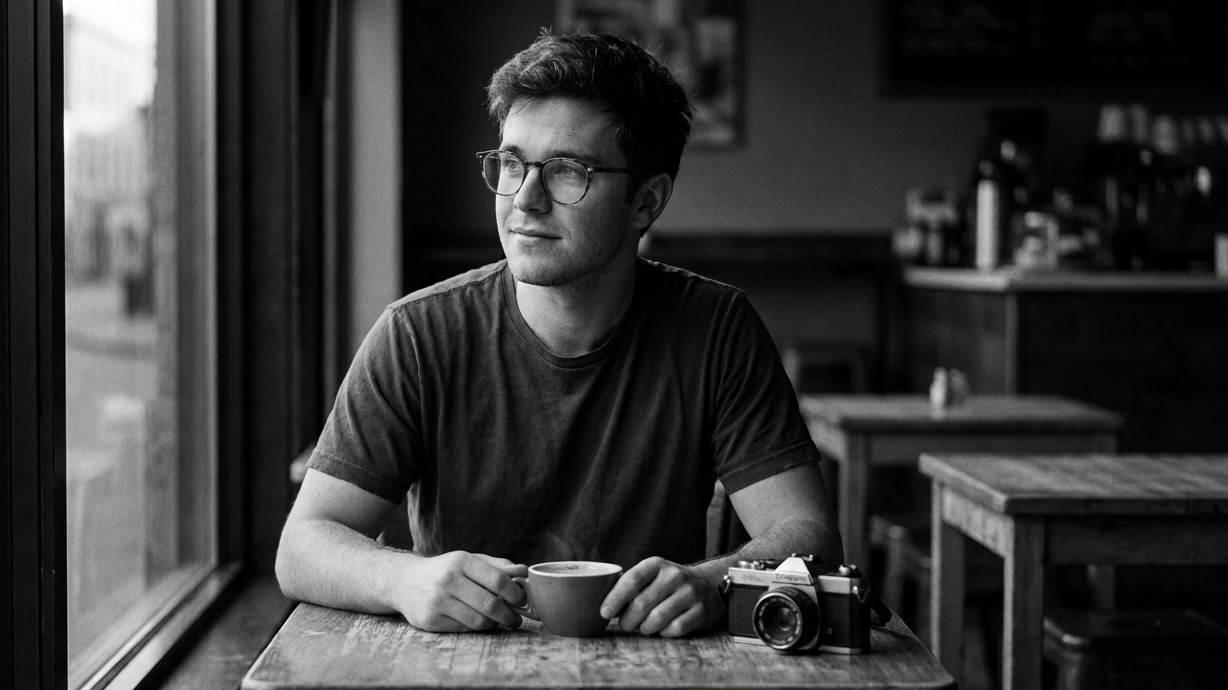
Natural Light: Use a single window in a dark room. Close the curtains until only a small sliver of light is coming through.
Artificial Light: A single lamp, a flashlight, or a speedlight with a "snoot" (a tube that narrows the beam).
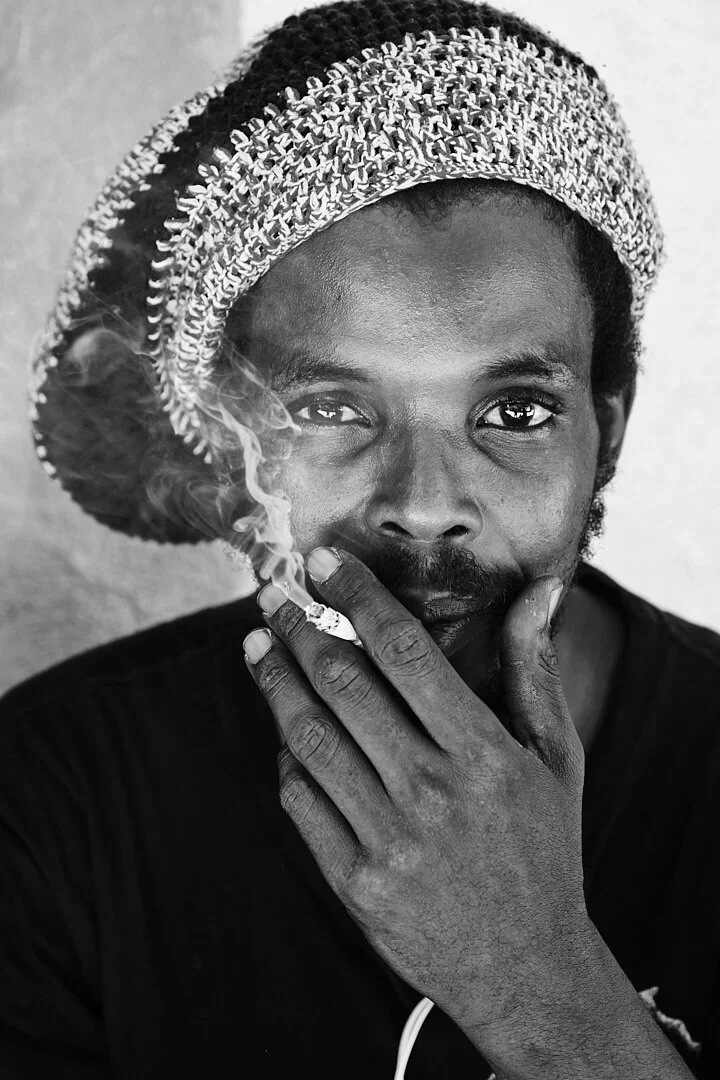
The Angle: Place your light at a 45-degree to 90-degree angle to your subject. This creates "side lighting" which emphasizes texture and form.
2. Expose for the Highlights This is the most important technical step. Your camera's auto-exposure will try to brighten the shadows, making the image look gray and muddy.
Switch to Manual Mode or use Exposure Compensation (dial it down to -2 or -3).
Use Spot Metering. Point your focus square at the brightest part of your subject’s face or body and expose so that only that part looks correct. Let the rest of the frame fall into pure black.
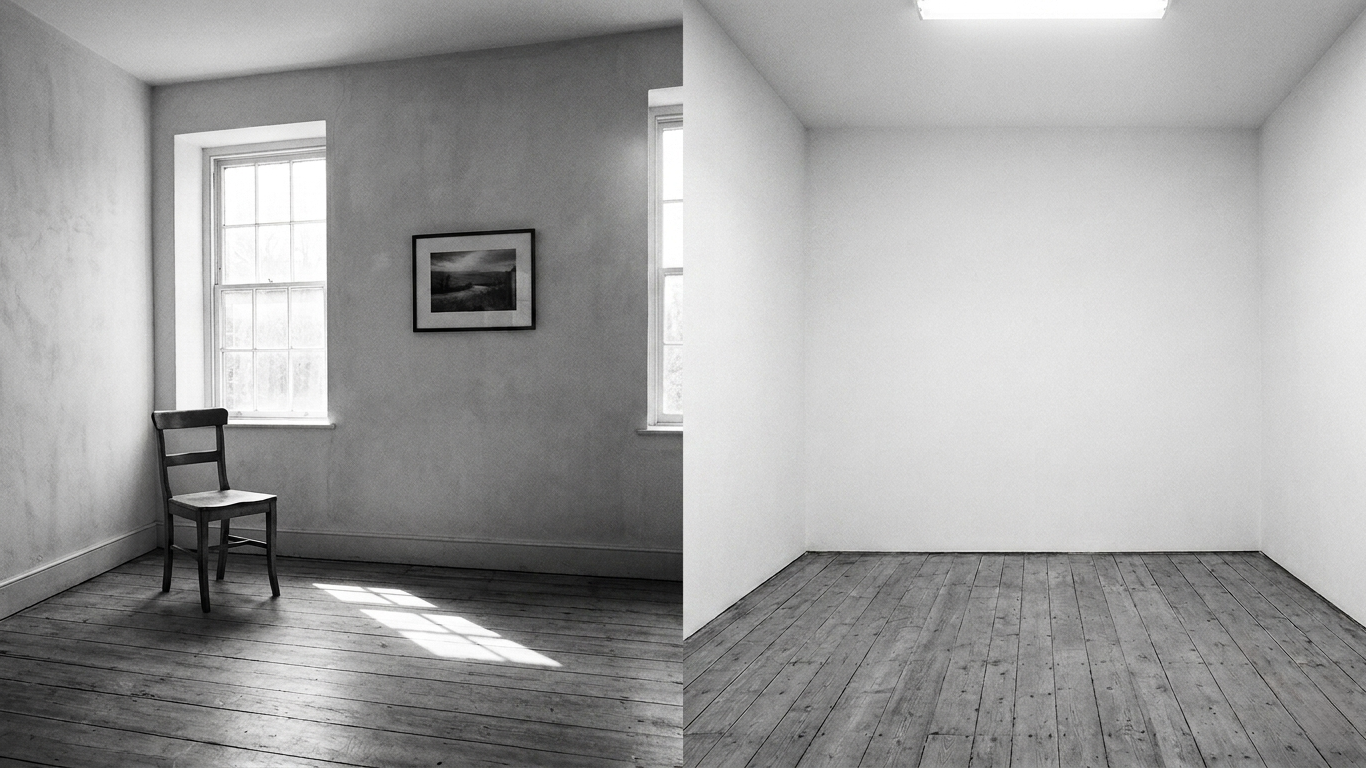
3. The "Inverse Square Law" Trick If your subject is too close to the background, the light will spill onto the wall and ruin the effect. Move your subject further away from the background and closer to the light source. Because of the way light falls off over distance, the background will go dark while your subject stays bright.
How to Edit It
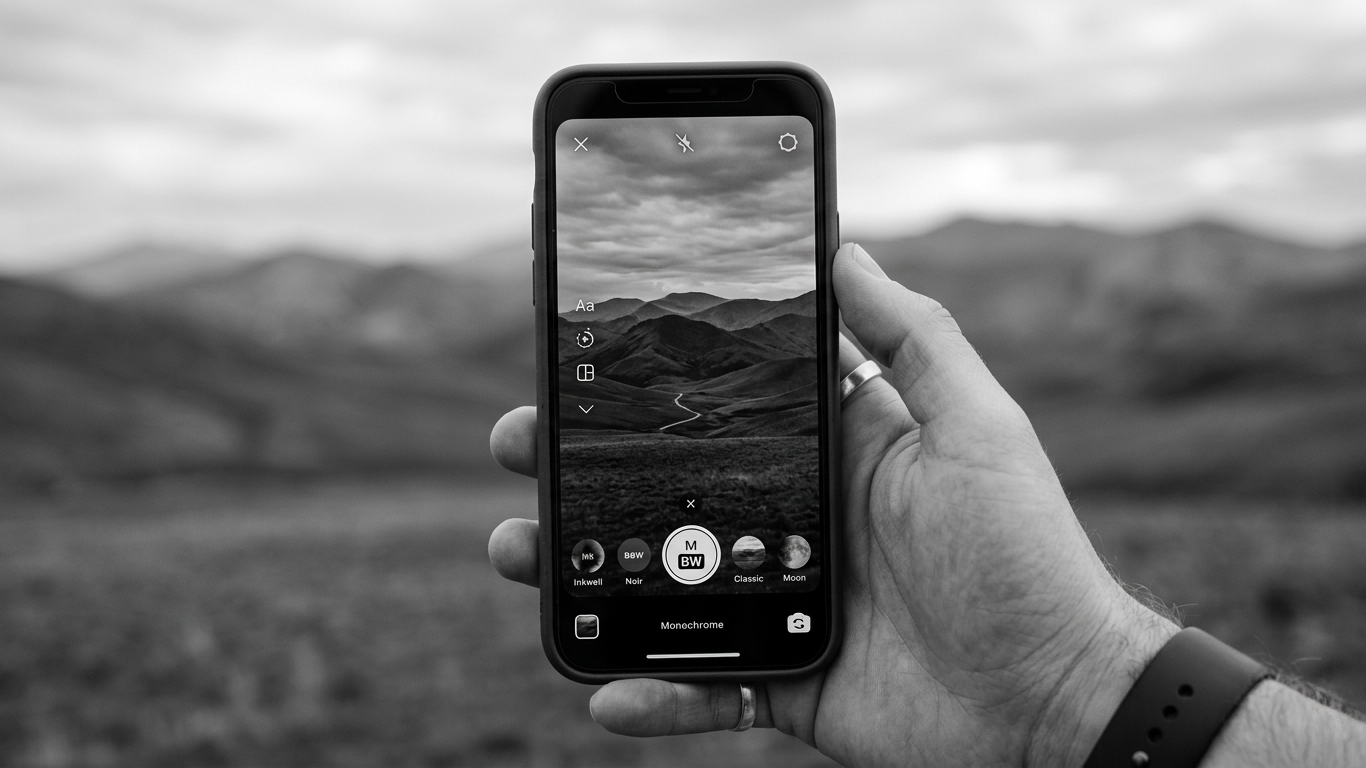
When you bring your RAW file into your editor (like the new Apple Creator Studio we discussed), your goal is to "clean up" the shadows.
Crush the Blacks: Bring the "Blacks" slider down until the background is a solid, clean void.
Dodge and Burn: Use a brush tool to selectively brighten (dodge) the catchlights in the eyes and darken (burn) any distracting elements in the edges of the frame.
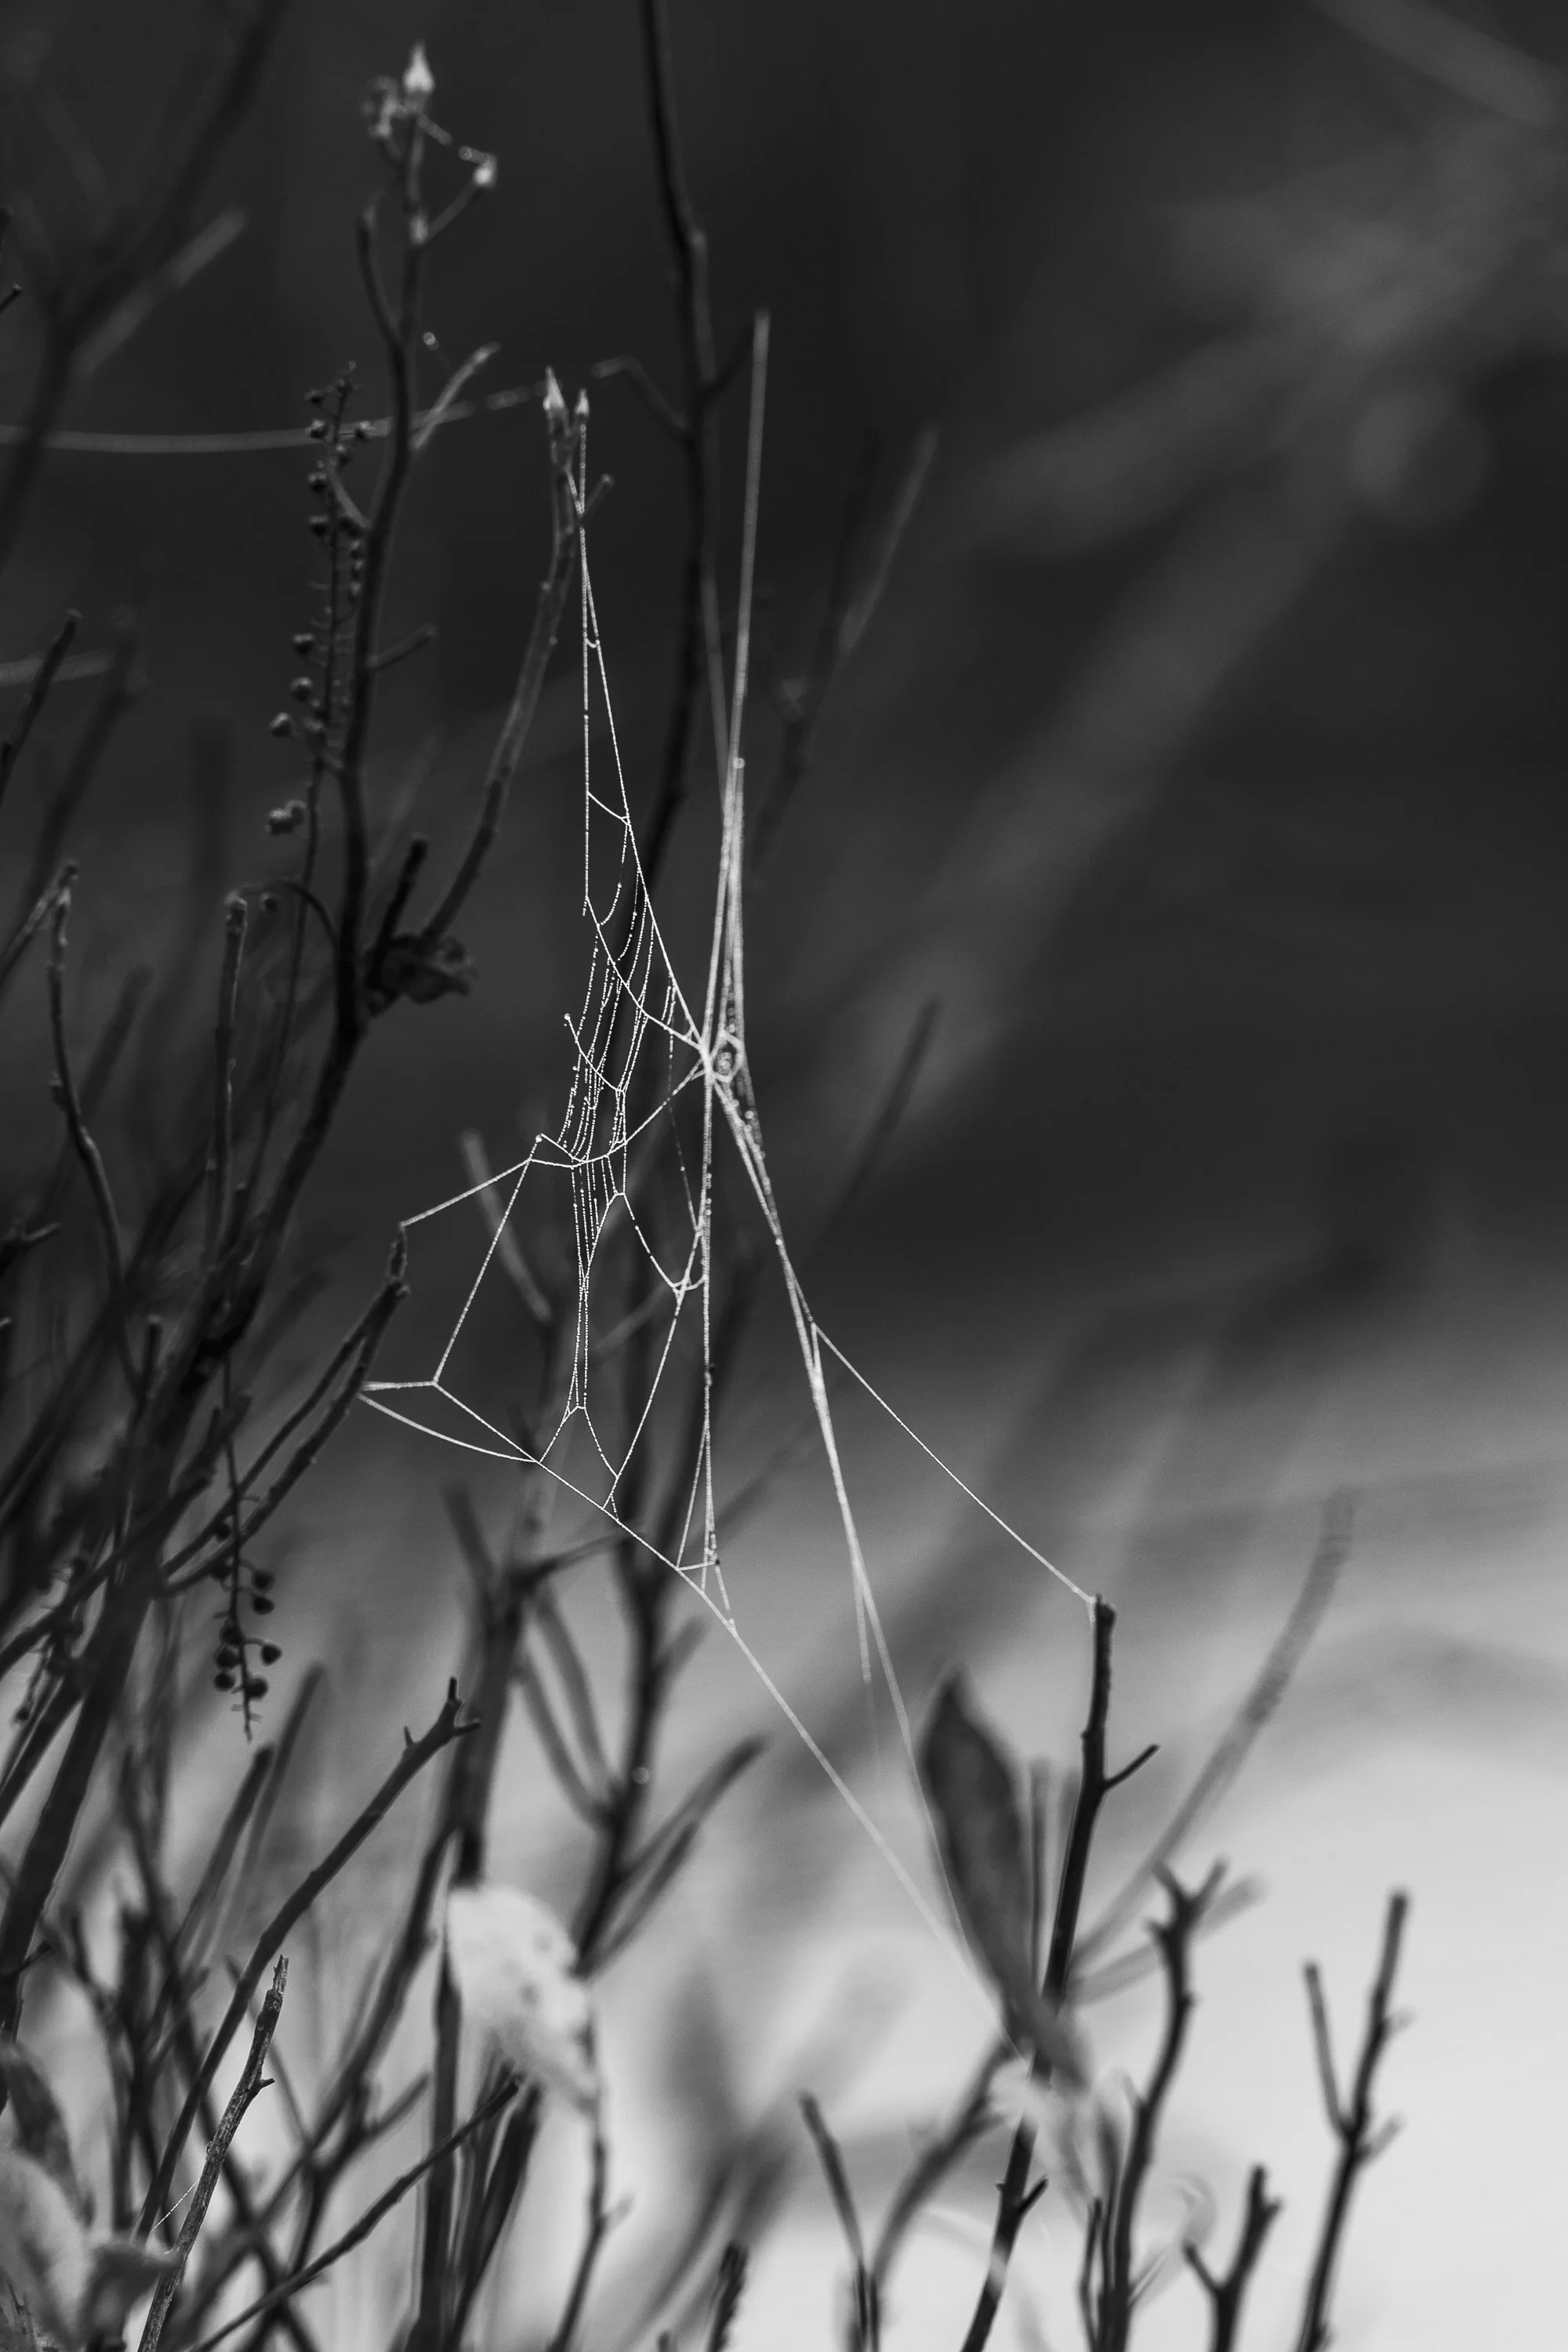
Texture: In monochrome, Chiaroscuro thrives on texture. Add a bit of "Clarity" only to the highlighted areas to make the skin or fabric feel tangible.
Chiaroscuro is a masterclass in restraint. It teaches you that what you don't show is often more powerful than what you do. Start by finding a single window and a willing subject (even a bowl of fruit will do), and see how much drama you can create with just a sliver of light.
IF YOU WOULD LIKE TO IMPROVE YOUR BLACK AND WHITE PHOTOGRAPHY TRY THE LESSONS BELOW.


A Beginners Guide To Black And White Photography